sign up to the newsletter for a weekly dose of something nutritious

CRAVING more? SUBSCRIBE NOW

  • Recipes
  • Blog
  • Shop
Something Nutritious
  • About
  • Contact
  • Recipes
  • All Recipes
  • Breakfast
  • Main
  • Salad
  • Side Dishes
  • Dessert
  • Snacks
  • Blog
  • Shop
  • About
  • Contact
  • All Recipes
  • Breakfast
  • Main
  • Salad
  • Side Dishes
  • Dessert
  • Snacks

Last updated on

December 24, 2024

1

REVIEWS

Date and Nut Candy Bars

Prep Time: 20 minutes mins
Total Time: 20 minutes mins

Date and nut candy bars made with smashed dates, crunchy nuts, creamy almond butter and a chocolate coating. This recipe is an easy homemade sweet treat to keep around!

Jump to Recipe

Save recipeSaved!

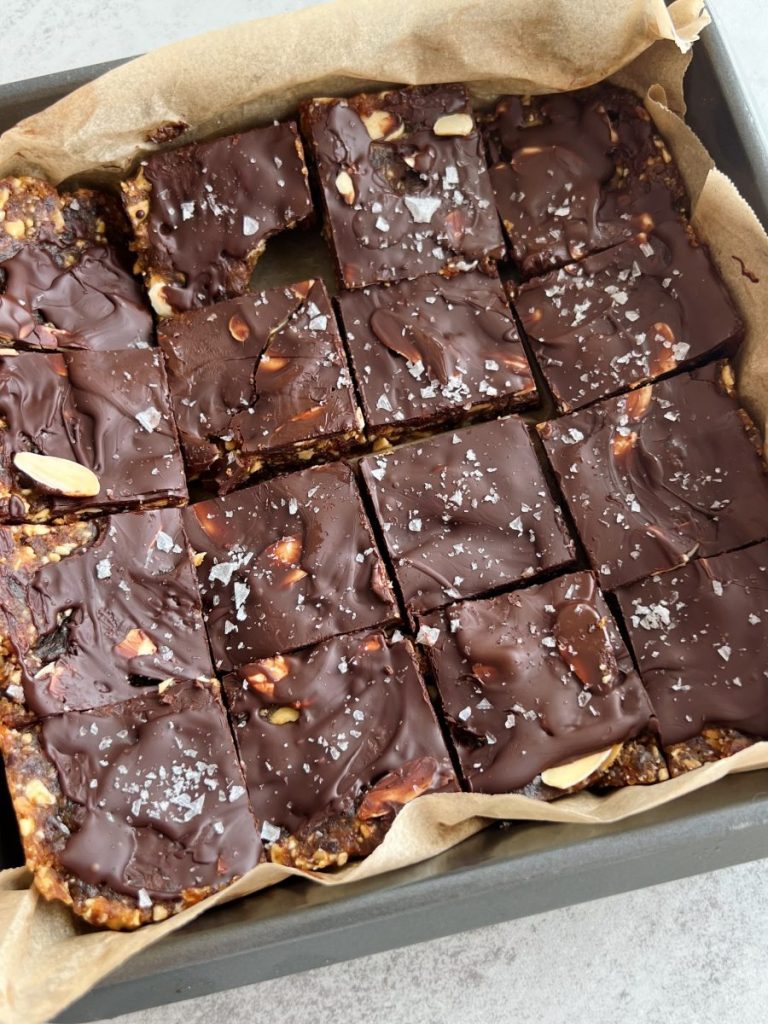
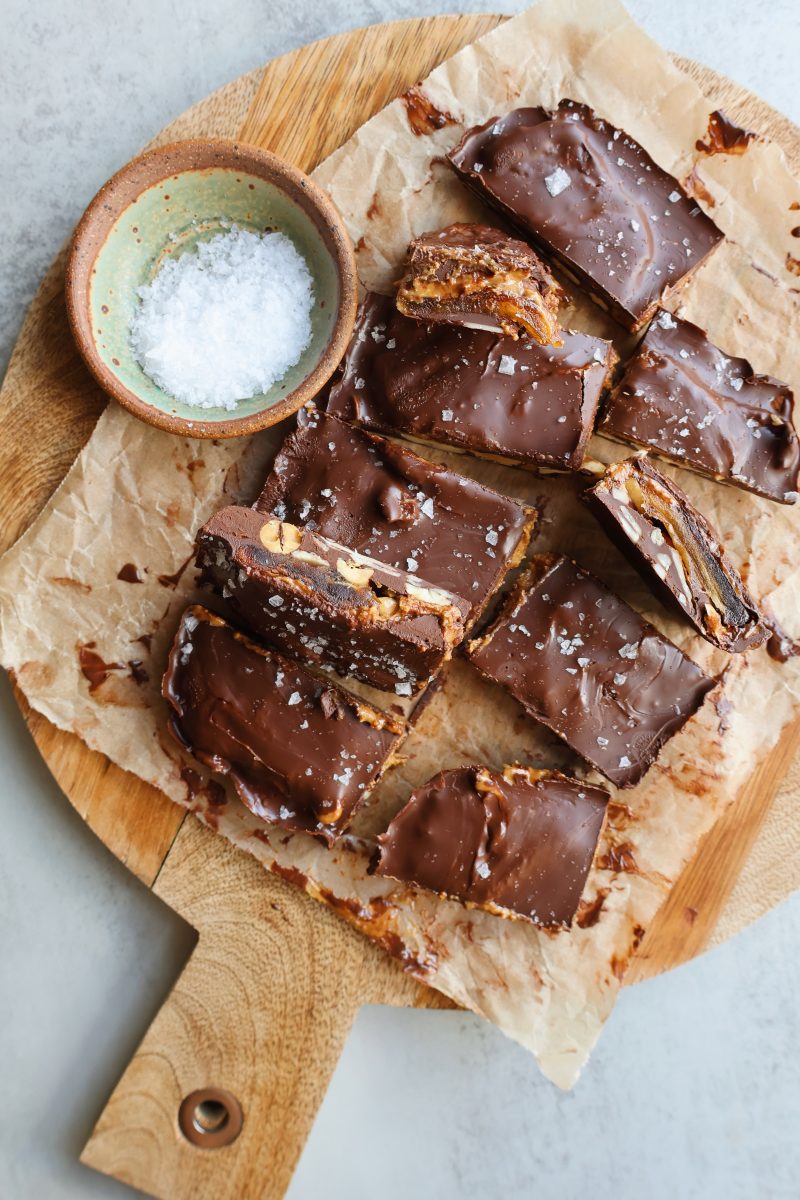
Sweet, salty and crunchy all in one. These 20-minute date and nut candy bars are such a simple yet delicious treat to keep around. They’re made with layers of melted chocolate, smashed medjool dates, crunchy nuts, creamy almonds butter and flakey sea salt.

In an effort to clean out my pantry before our move, I threw together this quick recipe to have a little something sweet to snack on during the week. The layers are just perfect together and truly taste like a homemade candy bar.
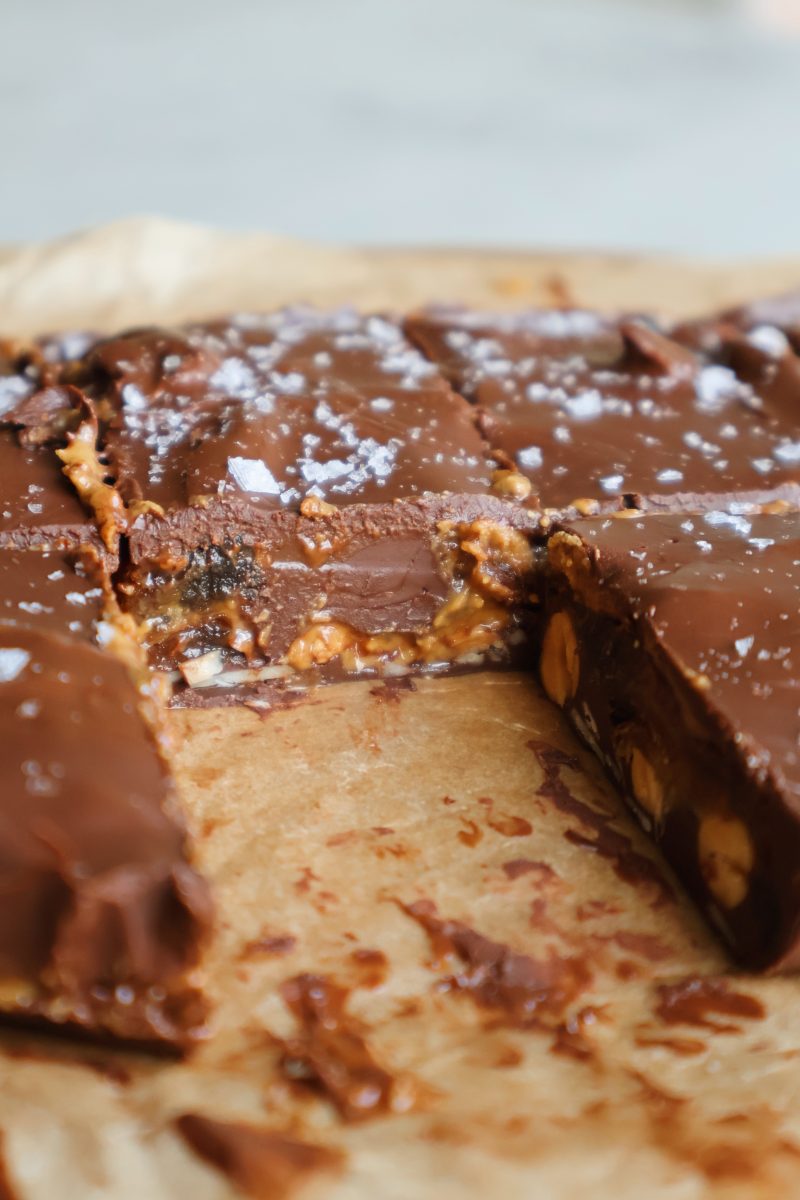
You can modify this recipe and use any combination of nuts or nut butter you have around. The star of the show here is the smashed medjool dates which add a chewy, caramel-like layer to these candy bars.
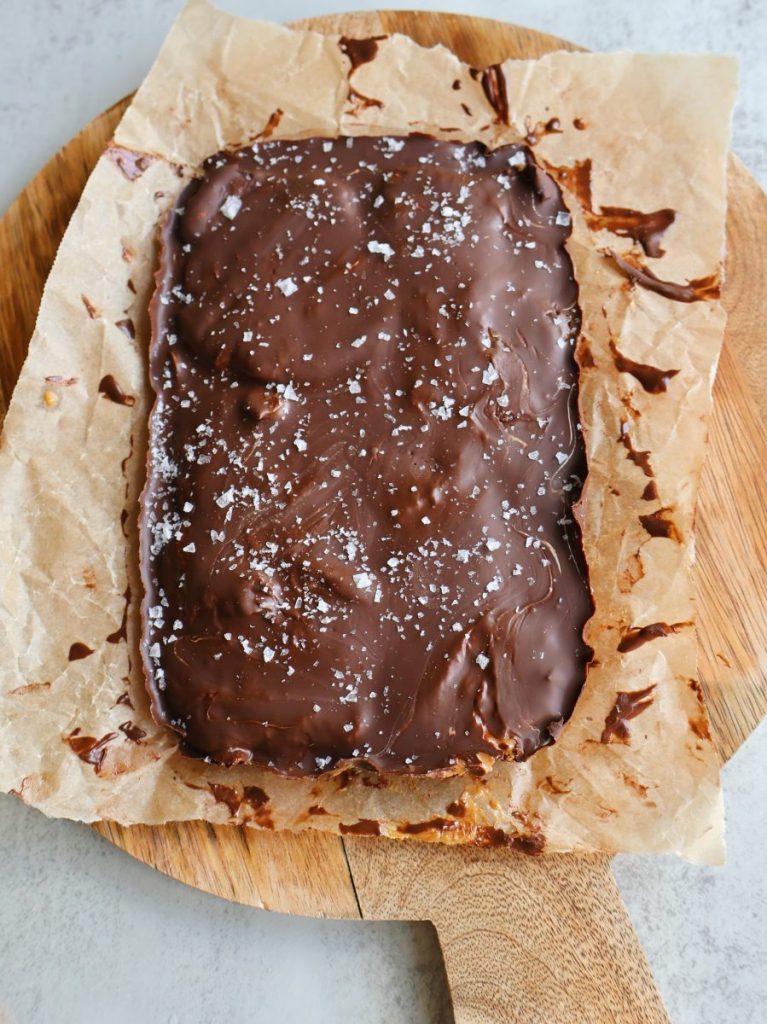
Smashed Dates

For the smashed date layer, be sure to use soft medjool dates for best results. Last year I shared my Dark Chocolate Tahini Date Bark made with smashed dates, and this recipe is another family favorite.

Simply remove the pits from the dates and press them using your fingers to flatten them out. Add them on top of the nut layer to create that homemade caramel layer.
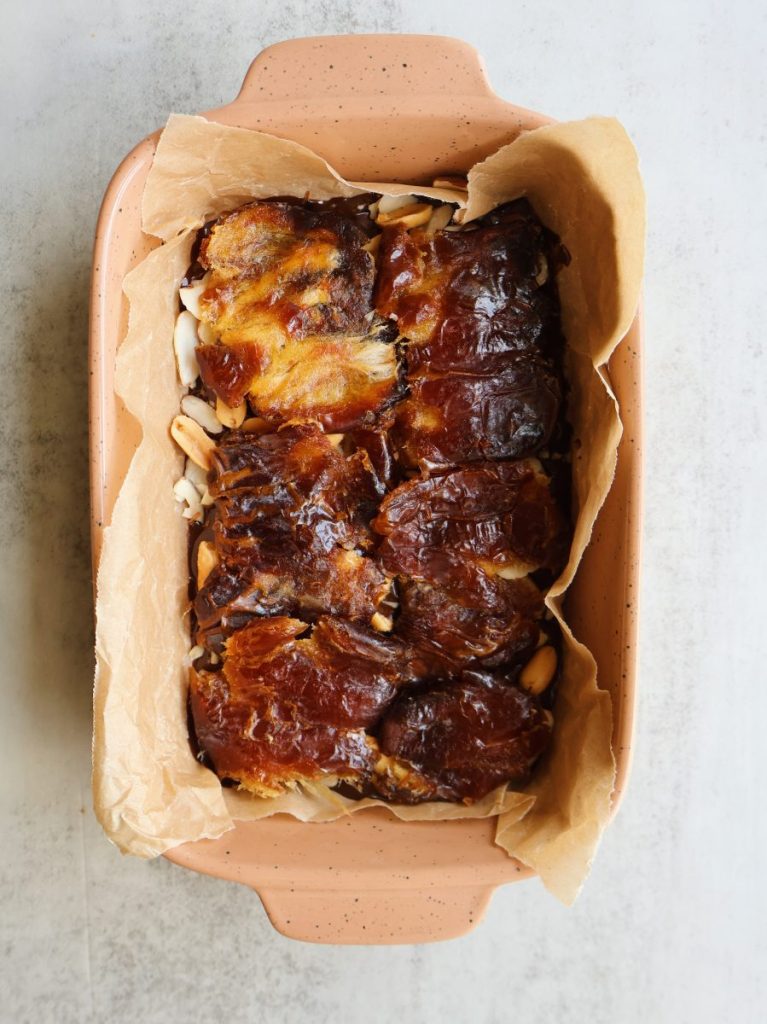
date and nut candy bars

What you’ll need to make date and nut candy bars

You can use this recipe as a simple guideline. Feel free to modify it based on preferences and ingredients you have around. Here’s what you’ll need:

  • Medjool dates– medjool dates are ideal for this recipe for their soft texture. They’re one of my pantry must-haves, and are a great source of carbs, fiber and potassium
  • Chocolate chips– I used semi-sweet chocolate that I melted with a little coconut oil for an extra smooth chocolate layer
  • Nuts– I added a combination of roasted peanuts and almonds. Other nuts that can work are cashews or pecans
  • Almond butter– the almond butter adds a creamy layer that when paired with the dates, tastes like caramel. You can swap peanut butter, tahini or your favorite nut butter
  • Flakey salt– flakey salt is probably one of my most used ingredients as most of you may know. It adds the perfect salty finish to this recipe
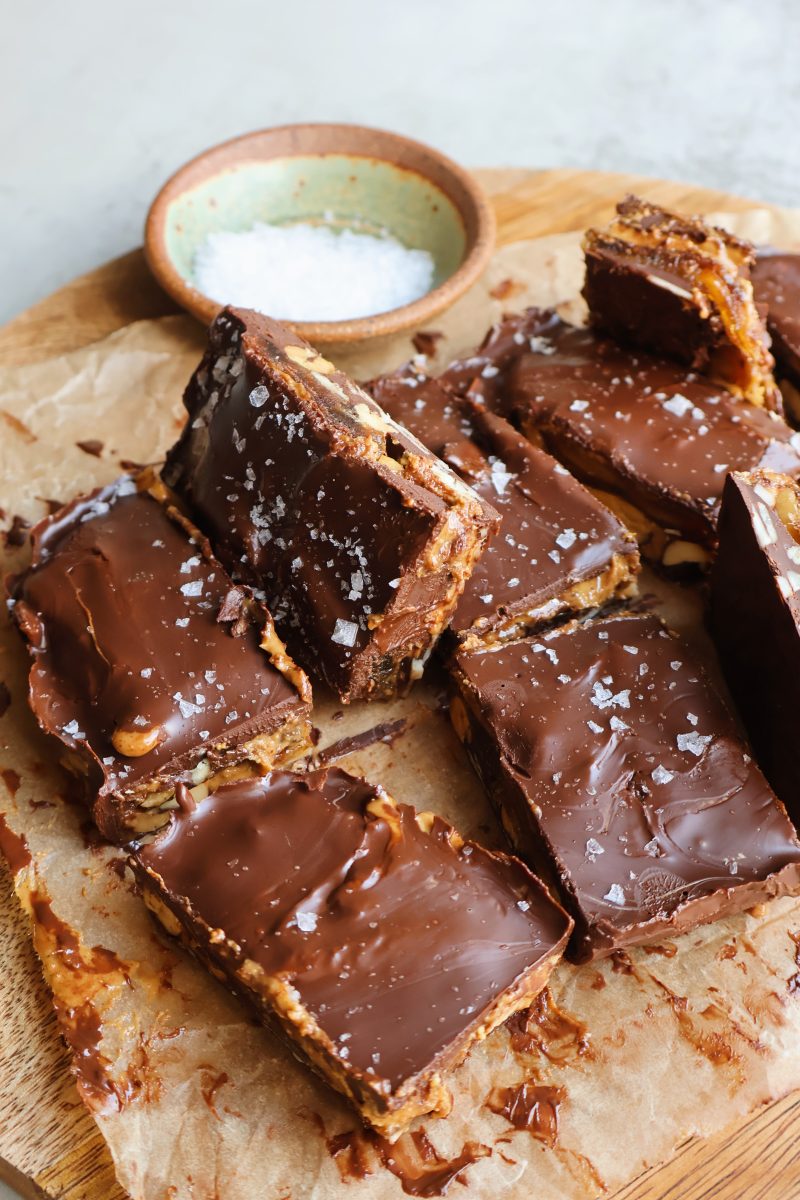
  1. Start with a layer of melted chocolate, followed by the nuts
  2. Press the pitted dates with your fingers to smash them then add them on top of the nuts
  3. Next, spread the almond butter on top of the dates
  4. Pour the remaining chocolate on top, making sure to spread it around all of the edges to cover the bars fully
  5. Set the bars in the freezer to set, top with flakey salt then slice and enjoy!
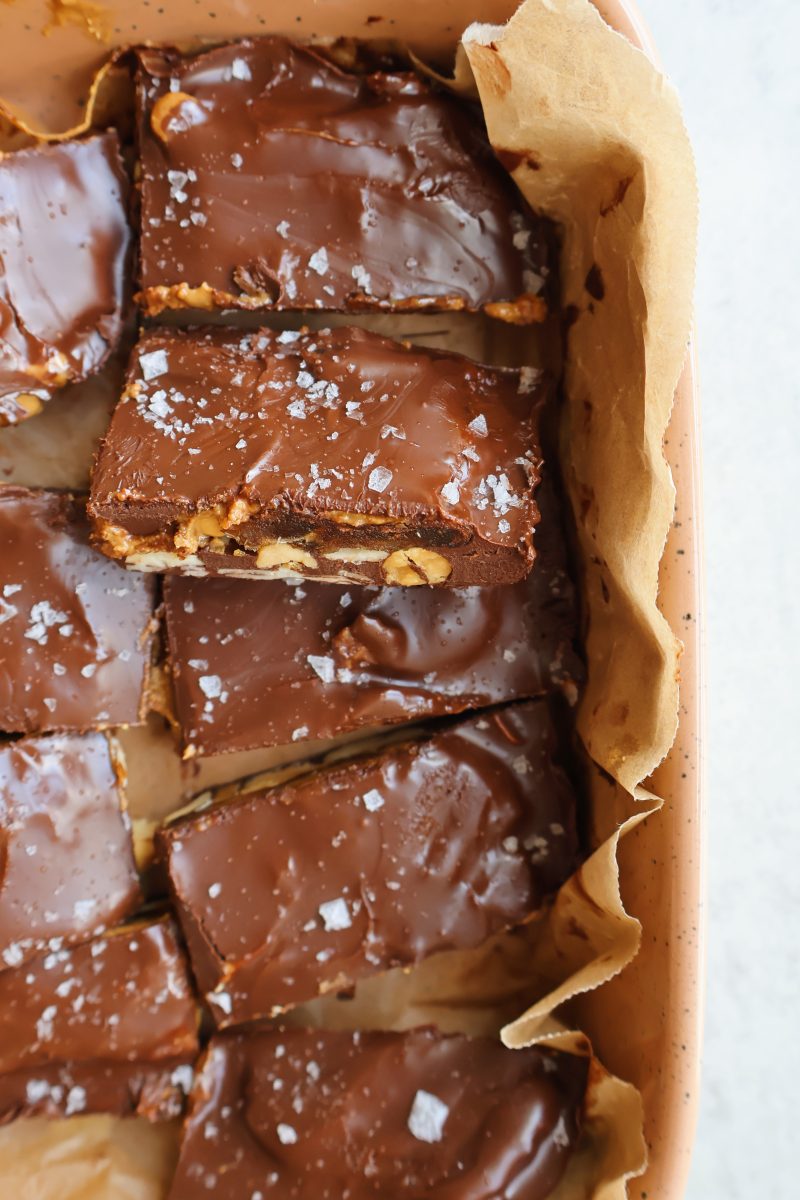
Keep these homemade candy bars in the fridge or freezer for a quick sweet & salty fix during the week!

More no-bake sweet treats:

Pistachio Date & Oat Bars

Chocolate Peanut Butter Oat Cups

Dark Chocolate Coconut Bars

Date and Nut Candy Bars

5 from 1 vote
Pin It Print SaveSaved!
Serves: 10 servings
Prep Time: 20 minutes mins
Total Time: 20 minutes mins
Prevent your screen from going dark

Ingredients

  • 5 -7 medjool dates, pits removed
  • 1/3 cup almond butter or nut butter of choice
  • 1/4 cup roasted peanuts
  • 1/4 cup sliced almonds
  • 1 1/4 cups semi-sweet chocolate chips
  • 2 tsp coconut oil
  • Flakey salt

Directions

  1. In a microwave safe bowl, melt the chocolate chips and coconut oil in 30 second increments until smooth.
  2. Remove the pits from the dates and press them with your fingers to flatten them. Set aside.
  3. Line a 9 x 5 or 8 x 5 pan with parchment paper. Pour about 1/4 of the melted chocolate into the pan and spread evenly to create the bottom base.
  4. Add in the nuts, followed by the flattened dates, followed by the almond butter. Using a small rubber spatula or back of a spoon, spread the almond butter over the date layer.
  5. Pour the remaining chocolate over the top, making sure to push some chocolate over each side to fully coat it.
  6. Set in the freezer to harden for 30 minutes.
  7. Once firm, top with flakey salt and slice into 10 bars. Keep stored in the fridge for up to 3 weeks, or freeze for up to 3 months. If eating from frozen, I suggest letting them defrost for 10 minutes before eating.

Hi, friends!

  • Go to Something Nutritious Instagram Profile
  • Visit Something Nutritious TikTok
  • Visit Something Nutritious Pinterest Profile
  • Visit Something Nutritious Facebook profile

I’m Gal, the face behind Something Nutritious. I’m a registered dietitian and recipe developer living in Florida with my husband and dog, and I love to get creative in the kitchen.

get to know me

Latest Recipes

Main

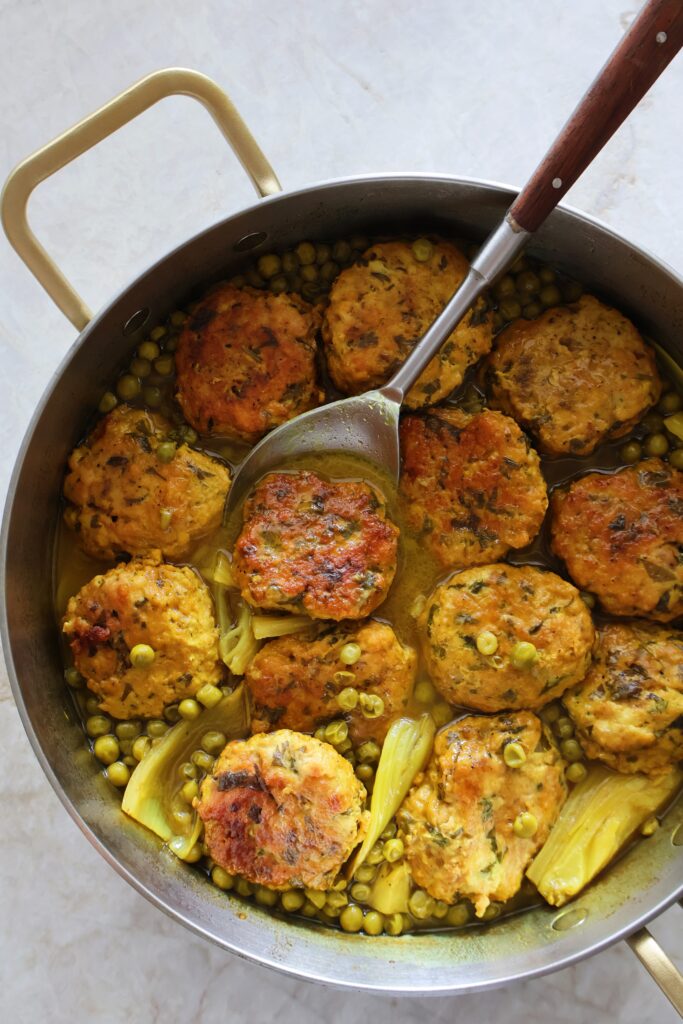
Zucchini Herb Chicken Meatballs

Main

Salmon with Herb Yogurt Sauce

Apricot Glazed Flanken Main

Apricot Glazed Flanken

Main

Balsamic Chicken and Fennel

Shop My Kitchen Staples

Shop My Kitchen Staples
Shop all

Explore More Recipes

tahini date and nut rolls Desserts

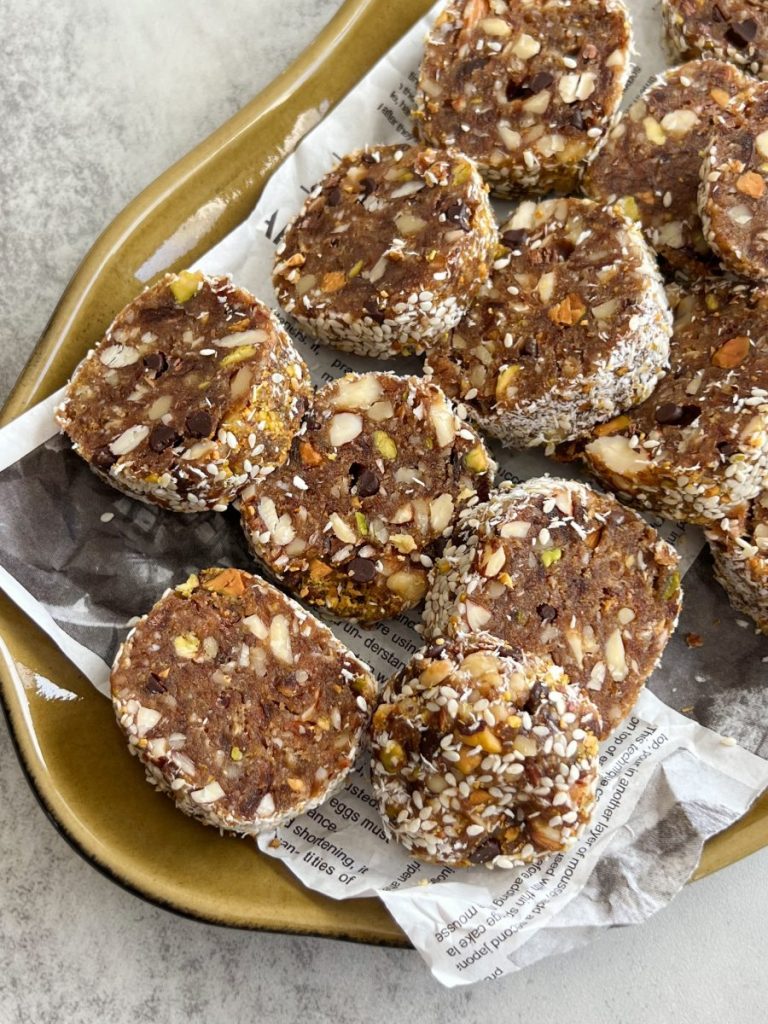
Tahini Date & Nut Rolls

chocolate date hearts Desserts

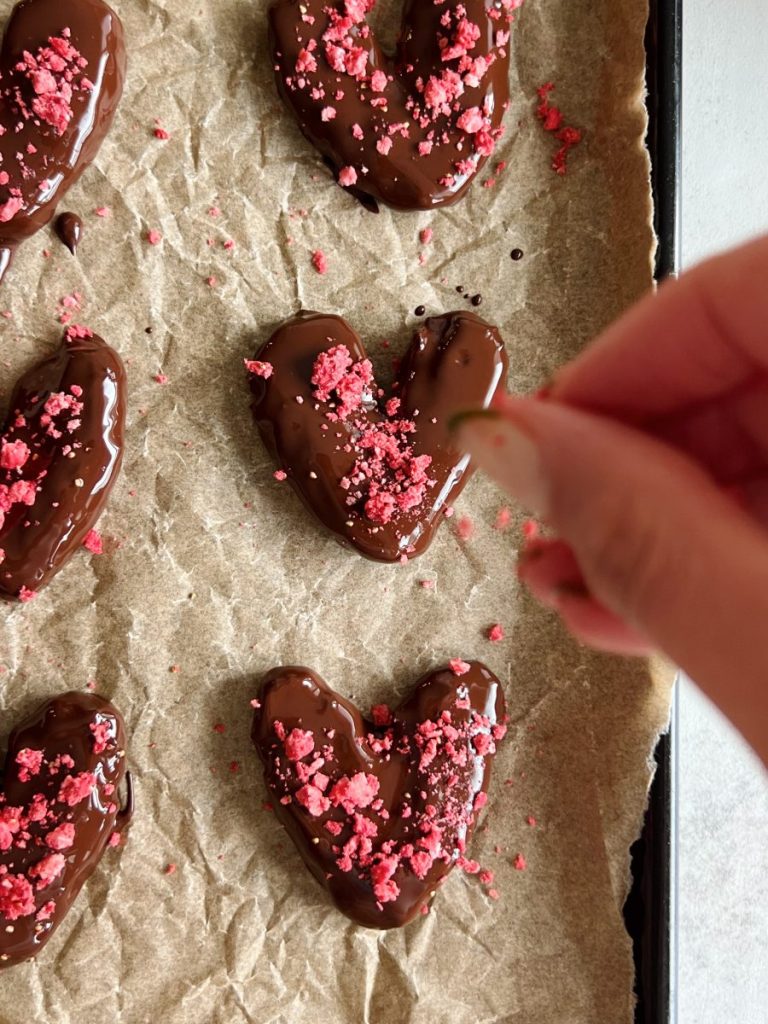
Chocolate Coated Date Hearts

Desserts

Dark Chocolate Date & Nut Bars

tahini date bark Desserts

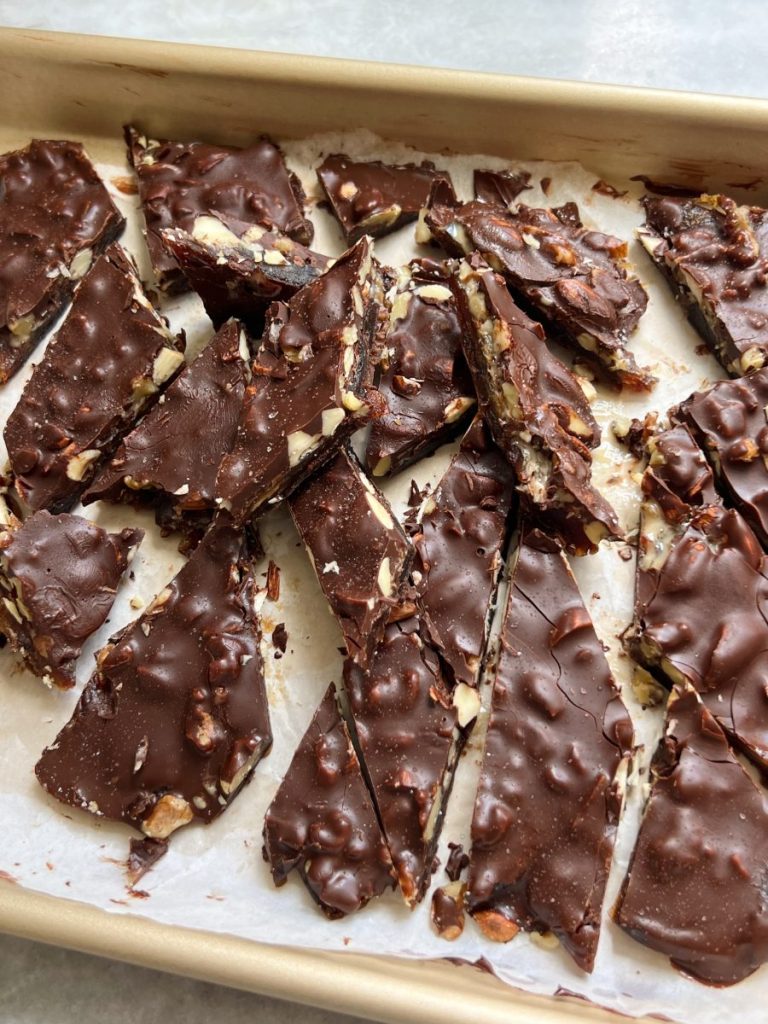
Dark Chocolate Tahini Date Bark

view all recipes

Ratings and Reviews

write a review

Mary says:
October 29, 2024 at 9:00 pm
Mary
29.10.2024
My go to!
I discovered this recipe about two months ago! Absolutely delicious! I make it about once a week now and keep it in the fridge. Family favorite! Thank you!
Reply
Gal Shua-Haim says:
October 31, 2024 at 11:36 am
Gal Shua-Haim
31.10.2024

So happy to hear that, Mary!

Reply
B says:
August 6, 2024 at 5:40 am
B
6.8.2024
A real treat
5 stars
So easy and so delicious!
Reply

Write a Review Cancel reply


This site uses Akismet to reduce spam. Learn how your comment data is processed.

zucchini & herb chicken meatballs 🌿 hearty chicke zucchini & herb chicken meatballs 🌿

hearty chicken patties made with ground chicken, grated zucchini, spices & herbs— delicious over rice with a side salad and creamy tahini

comment “recipe” and I’ll send the recipe link straight to your inbox!

https://somethingnutritiousblog.com/zucchini-herb-chicken-meatballs/
hot honey beef bowls 🍯 seasoned ground beef serve hot honey beef bowls 🍯

seasoned ground beef served with baked sweet potato halves, avocado and pickled onions for a vibrant dinner! 

comment “recipe” and I’ll send this recipe straight to your inbox

https://somethingnutritiousblog.com/hot-honey-beef-bowls/
sumac salmon bites with herb whipped feta 🌿 packe sumac salmon bites with herb whipped feta 🌿

packed with fresh flavors like lemon juice, parsley and dill, the zesty salmon bites pair perfectly with creamy feta dip

comment “salmon” and ill send the link to your inbox, or google “something nutritious sumac salmon bites” 

https://somethingnutritiousblog.com/sumac-salmon-bites-with-herb-whipped-feta/
summer pasta salad with lemon roasted zucchini & w summer pasta salad with lemon roasted zucchini & white beans
 
one thing about me is I will always have a colorful pasta salad in the fridge during the warmer months— it’s the perfect way to pack in carbs, fiber and protein for a quick & nourishing lunch
 
this one combines @kensdressings Simply Vinaigrette Lemon Dressing & Ken’s Simply Vinaigrette Greek Dressing for the ultimate flavor combo— fresh, zesty & full of herbs!
 
grab the full recipe below! 
 
Recipe:
1 lb pasta, I used rigatoni
2 small zucchini, cut into rounds then quarters
1 cup roasted corn, I use pre-roasted frozen corn, thawed.
1 can (15 oz) cannellini beans, drained
1 red bell pepper or 1 cup mini peppers, sliced
4 oz feta cheese, crumbled
⅓ cup green olives, chopped. I used castelvetrano
2-3 cups arugula
Ken’s Simply Vinaigrette Lemon Dressing
Ken’s Simply Vinaigrette Greek Dressing
Salt & pepper
 
1. Prepare the pasta as instructed on the package. Drain and set aside
2. Preheat the oven to 425 F. Add the quartered zucchini to a baking dish and toss with 2 tbsp of Ken’s Simply Lemon Vinaigrette with a pinch of salt. Bake or air-fry for about 25 minutes on the top rack
3. Once the zucchini is ready, add it to a large mixing bowl with the cooked pasta, roasted corn, white beans, feta cheese, olives, sliced peppers, and arugula.
4. In a small bowl, combine ¼ cup of the Ken’s Simply Vinaigrette Lemon + ¼ cup of the Ken’s Simply Vinaigrette Greek. Mix well and toss with the pasta. Season with salt & pepper as needed
5. Leftovers can be refrigerated for up to 4 days.
 
#kenspartner
apricot glazed flanken 🫶🏼 a slow-cooked beef reci apricot glazed flanken 🫶🏼

a slow-cooked beef recipe in a sweet apricot sauce— so good served with my herb rice & chickpeas! 

leave a comment with the word “recipe” and I’ll send you the link!

https://somethingnutritiousblog.com/apricot-glazed-flanken/
chocolate chip yogurt muffins 🫶🏼 a lightly sweete chocolate chip yogurt muffins 🫶🏼

a lightly sweetened treat for a little midday snack! these muffins come together in 10 minutes and are made with a simple pantry staples

leave a comment with the word “recipe” and I’ll send you the link!

https://somethingnutritiousblog.com/chocolate-chip-yogurt-muffins/
bread dip on repeat all summer 🫒🍋 olive oil bals bread dip on repeat all summer 🫒🍋 

olive oil
balsamic vinegar 
castelvetrano olives
lemon zest
chopped parsley
chopped basil
calabrian chili peppers
feta cheese 
flakey salt
black pepper

comment “recipe” and I’ll send the full link! 🤍

https://somethingnutritiousblog.com/spicy-olive-bread-dip/
stay social @somethingnutritious

Sign up to our newsletter for exclusive recipes, culinary tips and all things nutritious.

Please enable JavaScript in your browser to complete this form.
Loading
Brand Mark

recipes

  • All Recipes
  • Breakfast
  • Main
  • Salad
  • Side Dishes
  • Dessert
  • Snacks

About

kitchen staples

contact

  • Go to Something Nutritious Instagram Profile
  • Visit Something Nutritious TikTok
  • Visit Something Nutritious Pinterest Profile
  • Visit Something Nutritious Facebook profile

© 2024 Something Nutritious Blog. All Rights Reserved.

Site by Saevil Row + MTT

Write a Review

Your vote:


Let us know what you thought of this recipe:

This worked exactly as written, thanks!
My family loved this!
Thank you for sharing this recipe

Or write in your own words:

A rating is required
A name is required
An email is required