
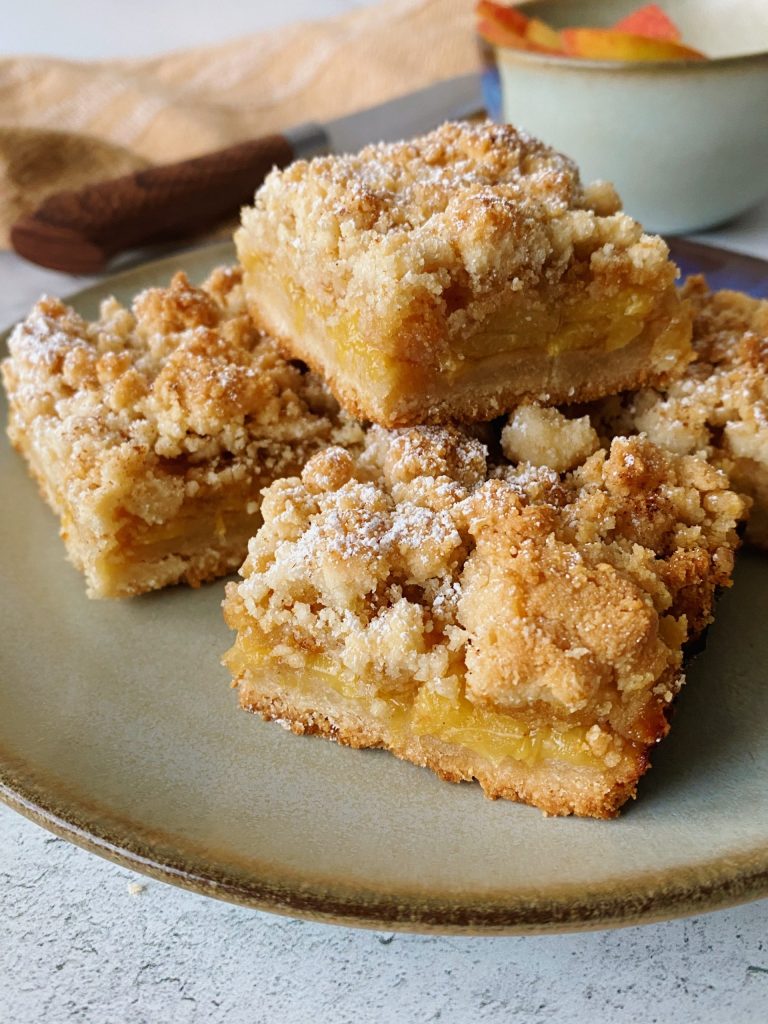
Gluten-free lemon bars are the ultimate spring dessert to make this season! They have a delicious almond flour based shortbread crust, and a thick & creamy citrus filling. These healthy lemon bars are surprisingly SO easy to whip up, and perfect for you mid-day sweet fix!

Last week I asked my Instagram followers for some recipe inspiration and what they wanted to see more of on the blog. Lemon bars had to have been mentioned at least 10 times, so I thought it was the perfect time to test them!
The flavors in these bars are unmatched. They’re perfectly sweet & zesty, with the absolute best texture.

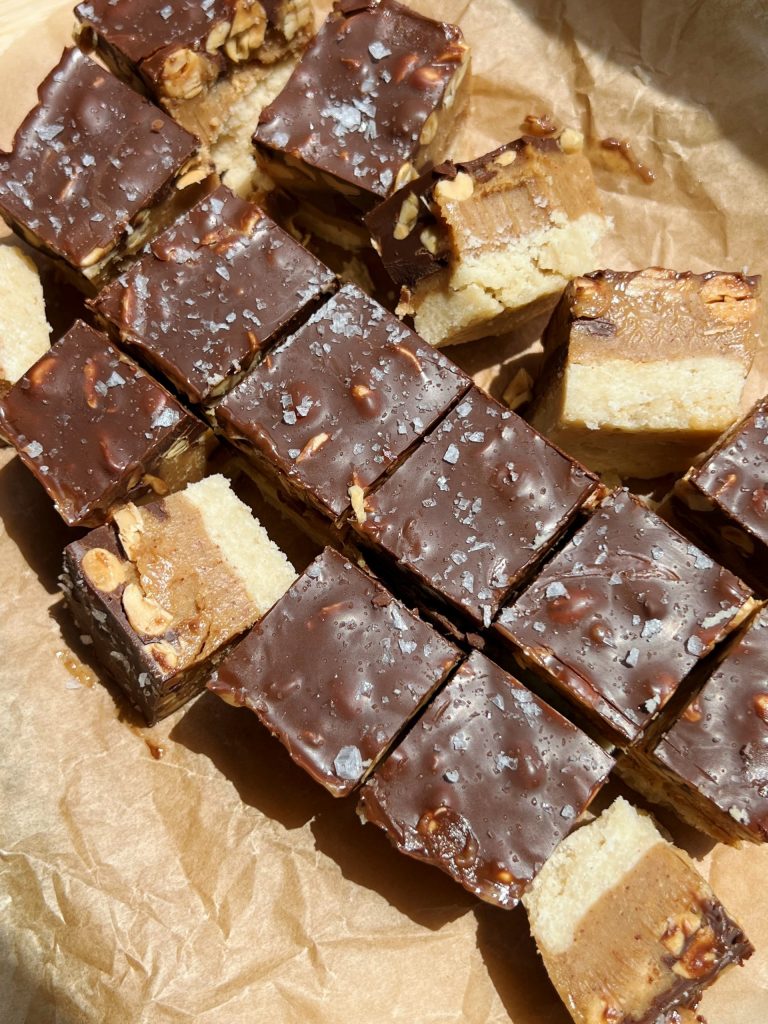
The shortbread crust is based off of my caramel candy bars. It’s truly one of the best gluten-free shortbread crusts, and pairs so well with these bars.
What you’ll need to make Lemon Bars
Shortbread Crust
The gluten-free shortbread crust is made from 5 simple ingredients:
- almond flour
- cassava flour, which can be substituted with coconut flour
- coconut oil- I usually use refined oil for a neutral taste
- maple syrup
- salt
Creamy Lemon Filling
The lemon filling is made from:
- eggs
- fresh lemon juice + zest
- pure maple syrup
- tapioca flour
The crust is first baked until slightly golden brown, then topped with the filling mixture and baked on a lower temperature until it just sets.
The hardest part is letting the bars chill before slicing, but trust me- its worth it!

Tips for how to perfect these healthy lemon bars
- Make sure your filling is mixed really well. I like to beat the eggs before adding any of the other ingredients in so make sure there are no egg whites showing. If they are, you may end up with white specks in your finished bars!
- Use freshly squeezed lemon- I don’t recommend using bottled lemon juice for these
- Don’t over bake the filling. While they still may taste delicious, the top of the bars may begin to crack.
- Let the bars completely cool before refrigerating. If you stick them in the fridge while they’re still warm, the top of the bars may crack.
If your bars do end up cracking on top, no worries! That layer of powdered sugar will cover it right up 🙂

I can’t wait for you guys to try these! Be sure to check out some other lemon recipes below 🙂
Other lemon recipes you may like:
Gluten-free Lemon Blueberry Loaf
Lemon Coconut Bliss Balls
Lemon Yogurt Pancakes

Gluten-free Lemon Bars
Ingredients
Crust
- 1 1/2 cups almond flour
- 1/4 cup cassava flour, or substitute coconut flour
- 1/4 cup + 1 tbsp soft coconut oil, use refined for a neutral taste
- 1/4 cup pure maple syrup
- 1/4 tsp salt
Filling
- 4 large eggs, at room temperature
- 1/3 cup + 2 tbsp pure maple syrup
- 1/2 cup lemon juice (about 2 1/2 lemons)
- 1 tbsp lemon zest
- 1 tbsp tapioca flour, or substitute arrowroot flour
- Confectioners sugar to top
Directions
- Preheat your oven to 350 F.
- In a large bowl, combine all of the crust ingredients. Using your hands or a silicone spatula, mix the batter well until everything is evenly incorporated and a dough forms.
- Line an 8 x 8 baking dish with parchment paper, making sure to grease the corners. Be sure your parchment paper is long enough over the edge to be able to pull up the bars once they’re ready. Flatten the crust into the pan until evenly distributed.
- Bake the crust for 10-12 minutes, until the edges start to slightly brown. In the mean time, prep your filling.
- Rinse out the bowl and add in your 4 eggs. Whisk together until the eggs are fully beaten.
- Add in the maple syrup, lemon juice and zest and whisk together until smooth and no eggs whites are showing. Add in your tapioca flour and mix to break up any clumps.
- Once the crust is ready, remove from oven.
- Lower the oven temperature to 325 F. Pour the filling over the crust right when you take it out of the oven.
- Once the oven temp lowers, gently place your pan back in and bake it for an additional 20-25 minutes. It should still be slightly jiggly when you remove it from the oven. Be sure not to over bake it, or the top will crack. My oven needed 20 minutes.
- Remove the pan from the oven and let it cool completely at room temperature. Once cool, refrigerate for at least 2 hours to let it set before slicing.
- After 2 hours, sprinkle the bars with confectioners sugar using a small mesh strainer. Slice into 9 or 12 bars.
- Keep leftovers stored in the fridge for up to 1 week.


Whole wheat may make these a bit more dry. I would cut back by 1/4 cup if using whole wheat flour
Looks amazing can’t wait to try! Would you happen to have the nutrition content for these?
I don’t unfortunately, I’m sorry!
These are amazing thank you!!
Thank you, Courtney! ❤️