sign up to the newsletter for a weekly dose of something nutritious

CRAVING more? SUBSCRIBE NOW

  • Recipes
  • Blog
  • Shop
Something Nutritious
  • About
  • Contact
  • Recipes
  • All Recipes
  • Breakfast
  • Main
  • Salad
  • Side Dishes
  • Dessert
  • Snacks
  • Blog
  • Shop
  • About
  • Contact
  • All Recipes
  • Breakfast
  • Main
  • Salad
  • Side Dishes
  • Dessert
  • Snacks
black bean burritos

Last updated on

August 1, 2024

14

REVIEWS

Black Bean and Veggie Burritos

Prep Time: 10 minutes mins
Cook Time: 20 minutes mins
Total Time: 30 minutes mins

Freezer-friendly black bean burritos are a perfect meal prep, and a delicious way to clean out your fridge! They’re filled with fiber & protein, and can be made vegan if desired. Serve them with your favorite burrito sides, and enjoy them during busy mornings. Black Bean Burritos Before grocery shopping every week, I’ve made it…

Jump to Recipe

Save recipeSaved!

Freezer-friendly black bean burritos are a perfect meal prep, and a delicious way to clean out your fridge! They’re filled with fiber & protein, and can be made vegan if desired. Serve them with your favorite burrito sides, and enjoy them during busy mornings.
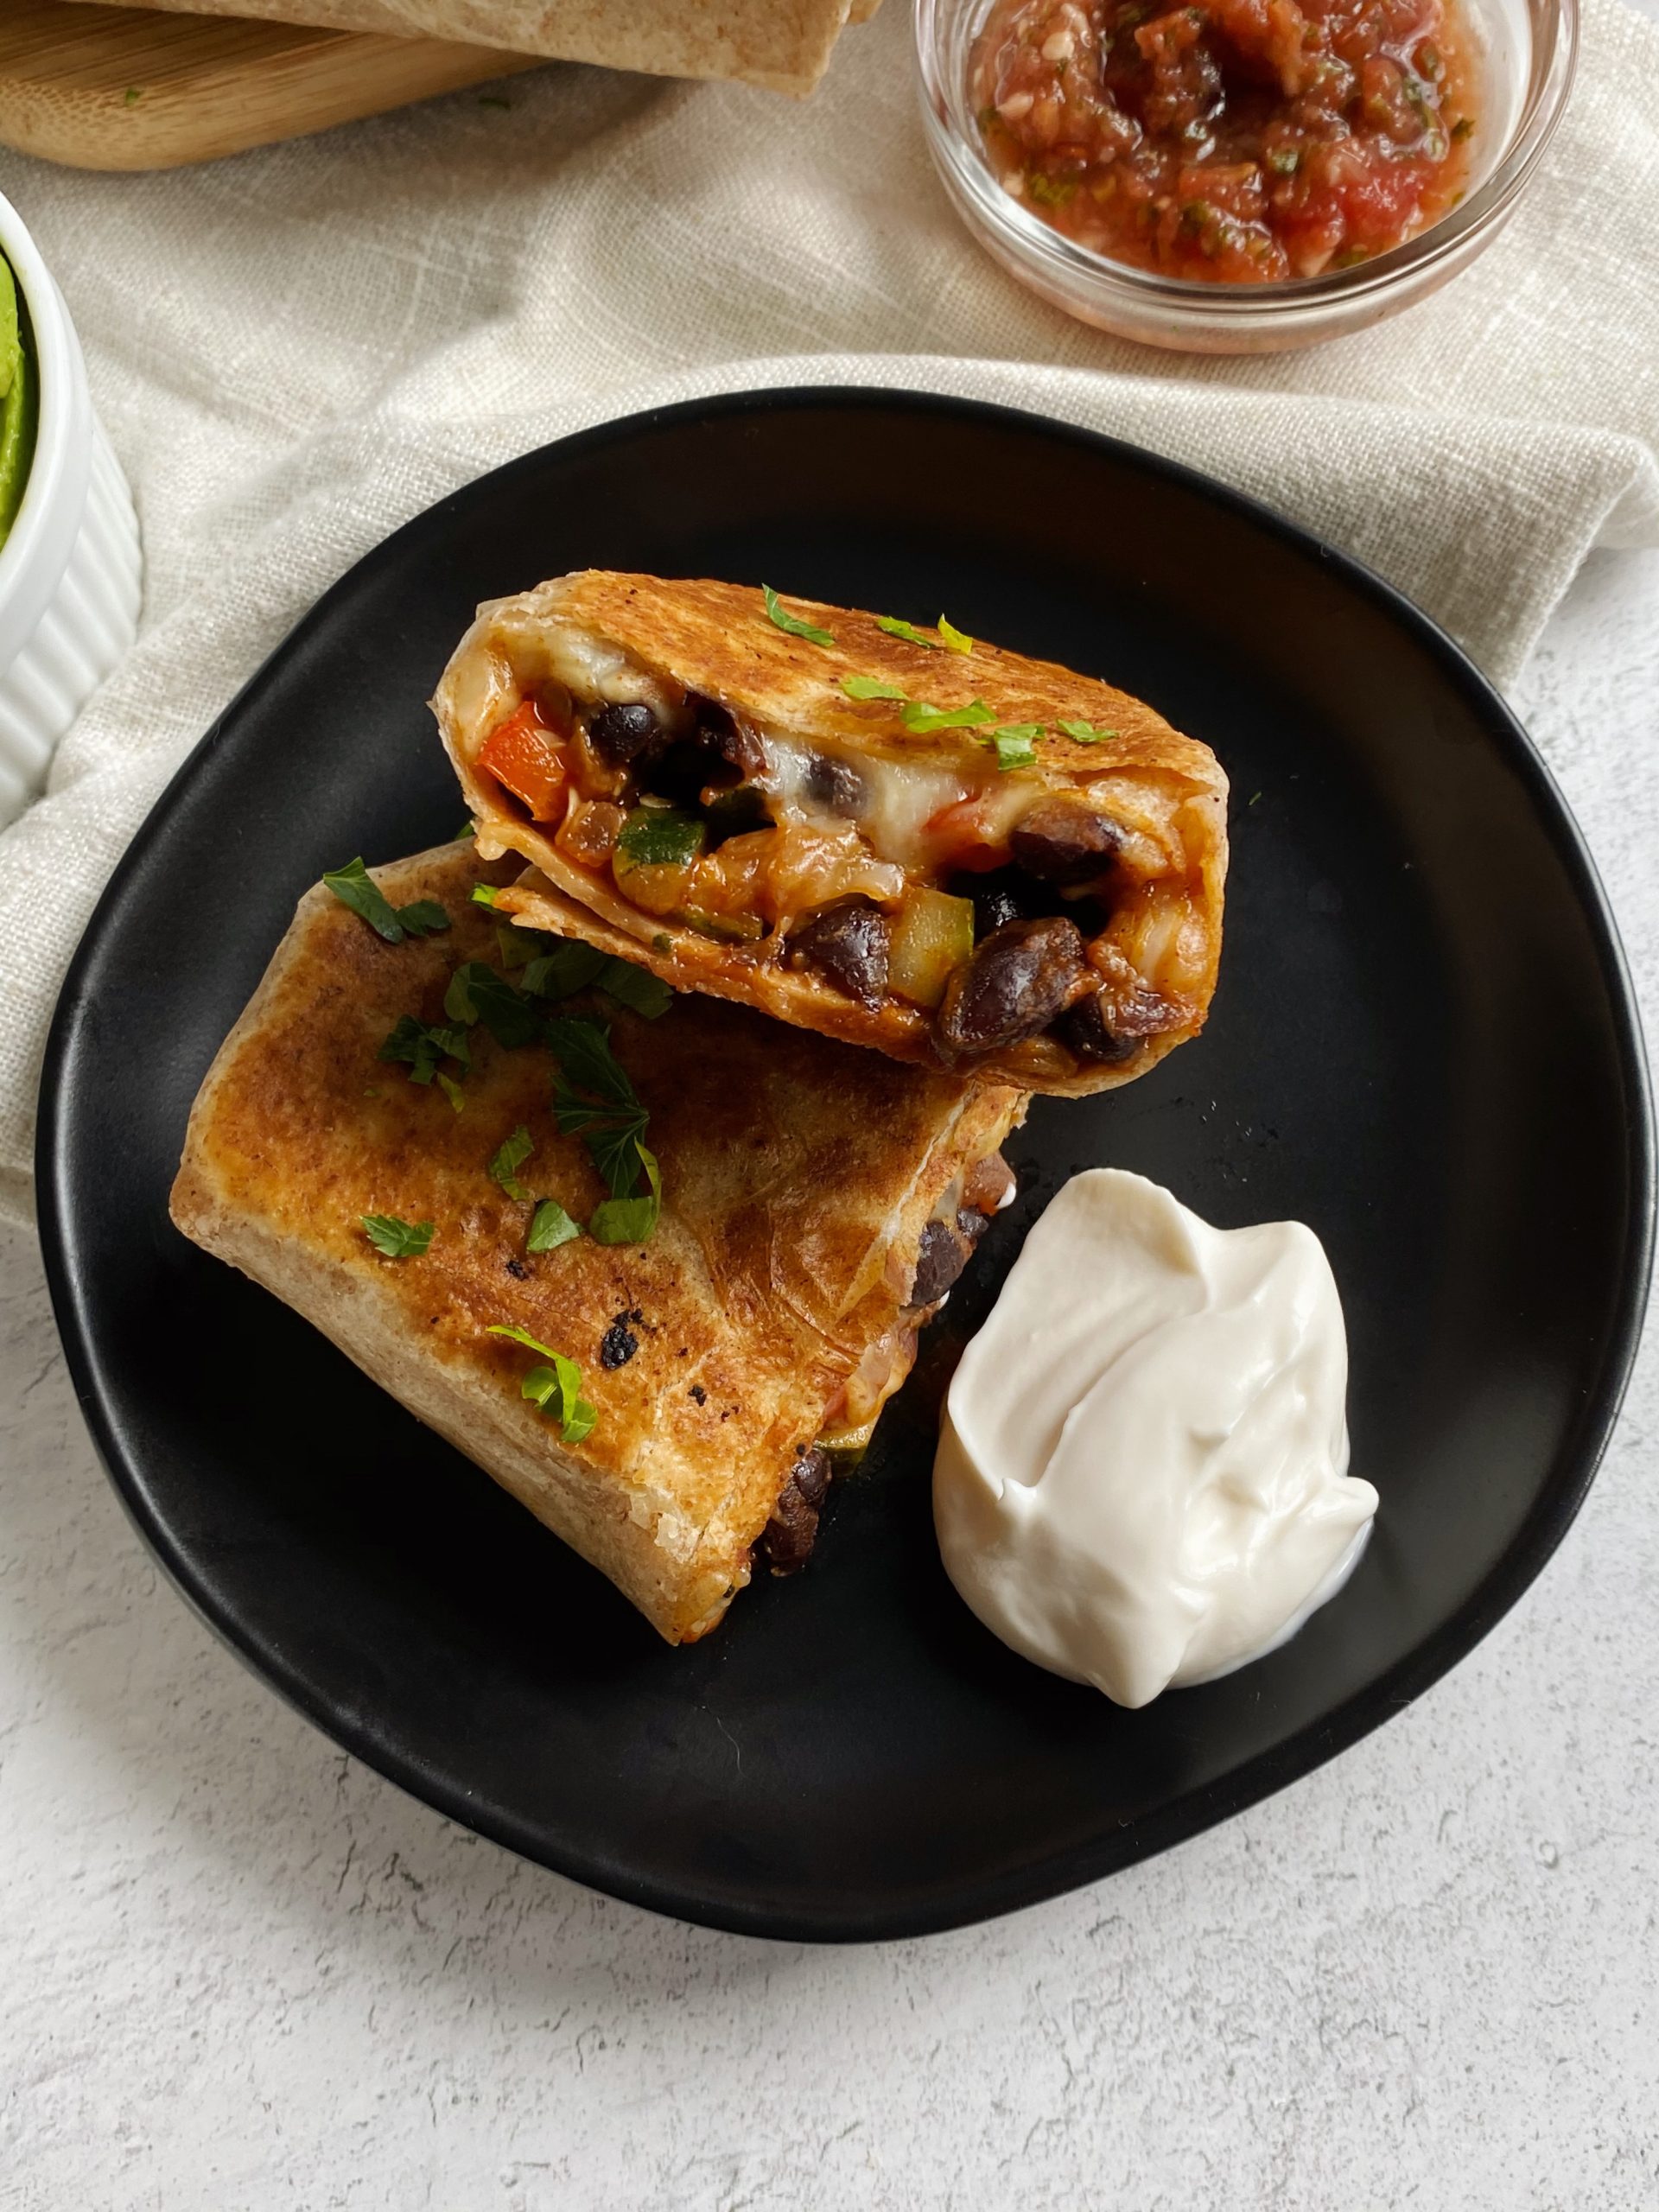
black bean veggie burritos

Black Bean Burritos

Before grocery shopping every week, I’ve made it a point to look through my fridge and try to empty it out before restocking it. Last week, I had some random veggies lying around, an opened can of black beans, and some wraps from the week prior.

With a few simple spices, these black bean and veggie burritos came to life. They’re slightly spicy, so flavorful, and can honestly be made with any veggie you desire!

Swap out the cheese for your favorite vegan substitute, and use gluten-free wraps if needed to cater to your dietary preferences.
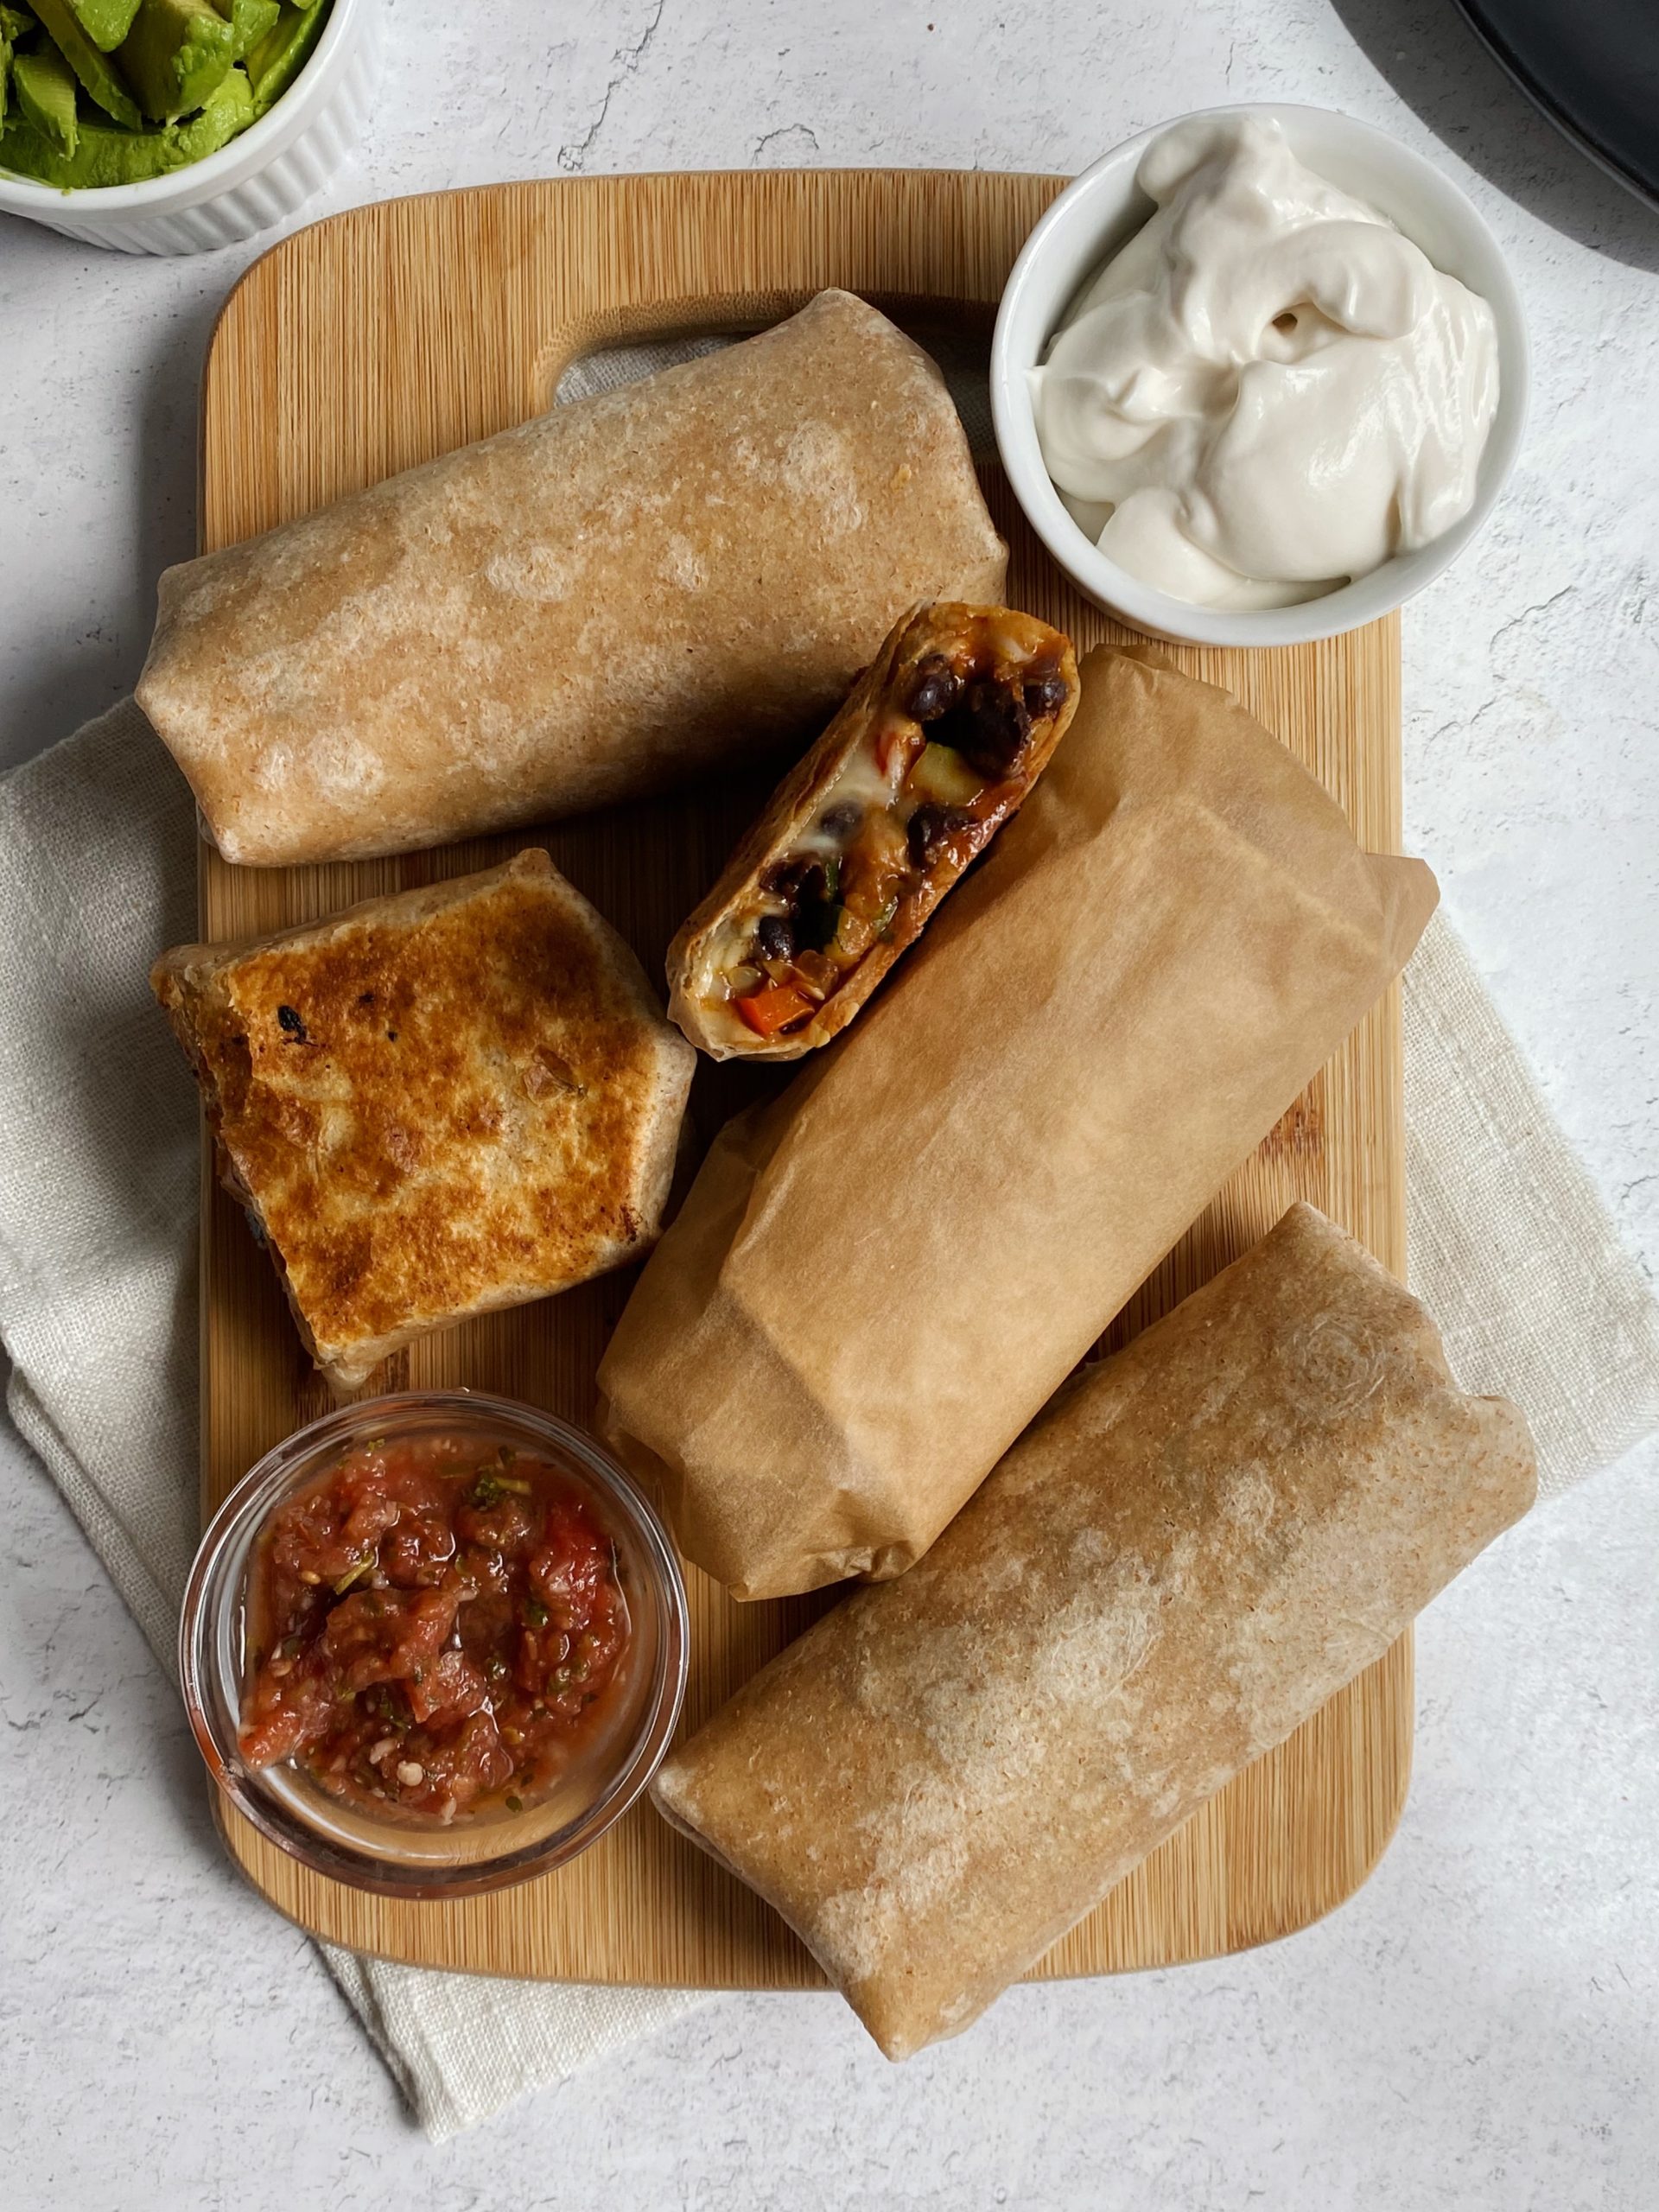
black bean veggie burritos

These burritos come together in 30 minutes or less, and can be enjoyed for breakfast, lunch or even dinner. Freeze them for up to two months, and reheat them in the oven, over a pan or in the microwave.

Serve them with salsa, avocado and a little sour cream for a delicious flavor combination.
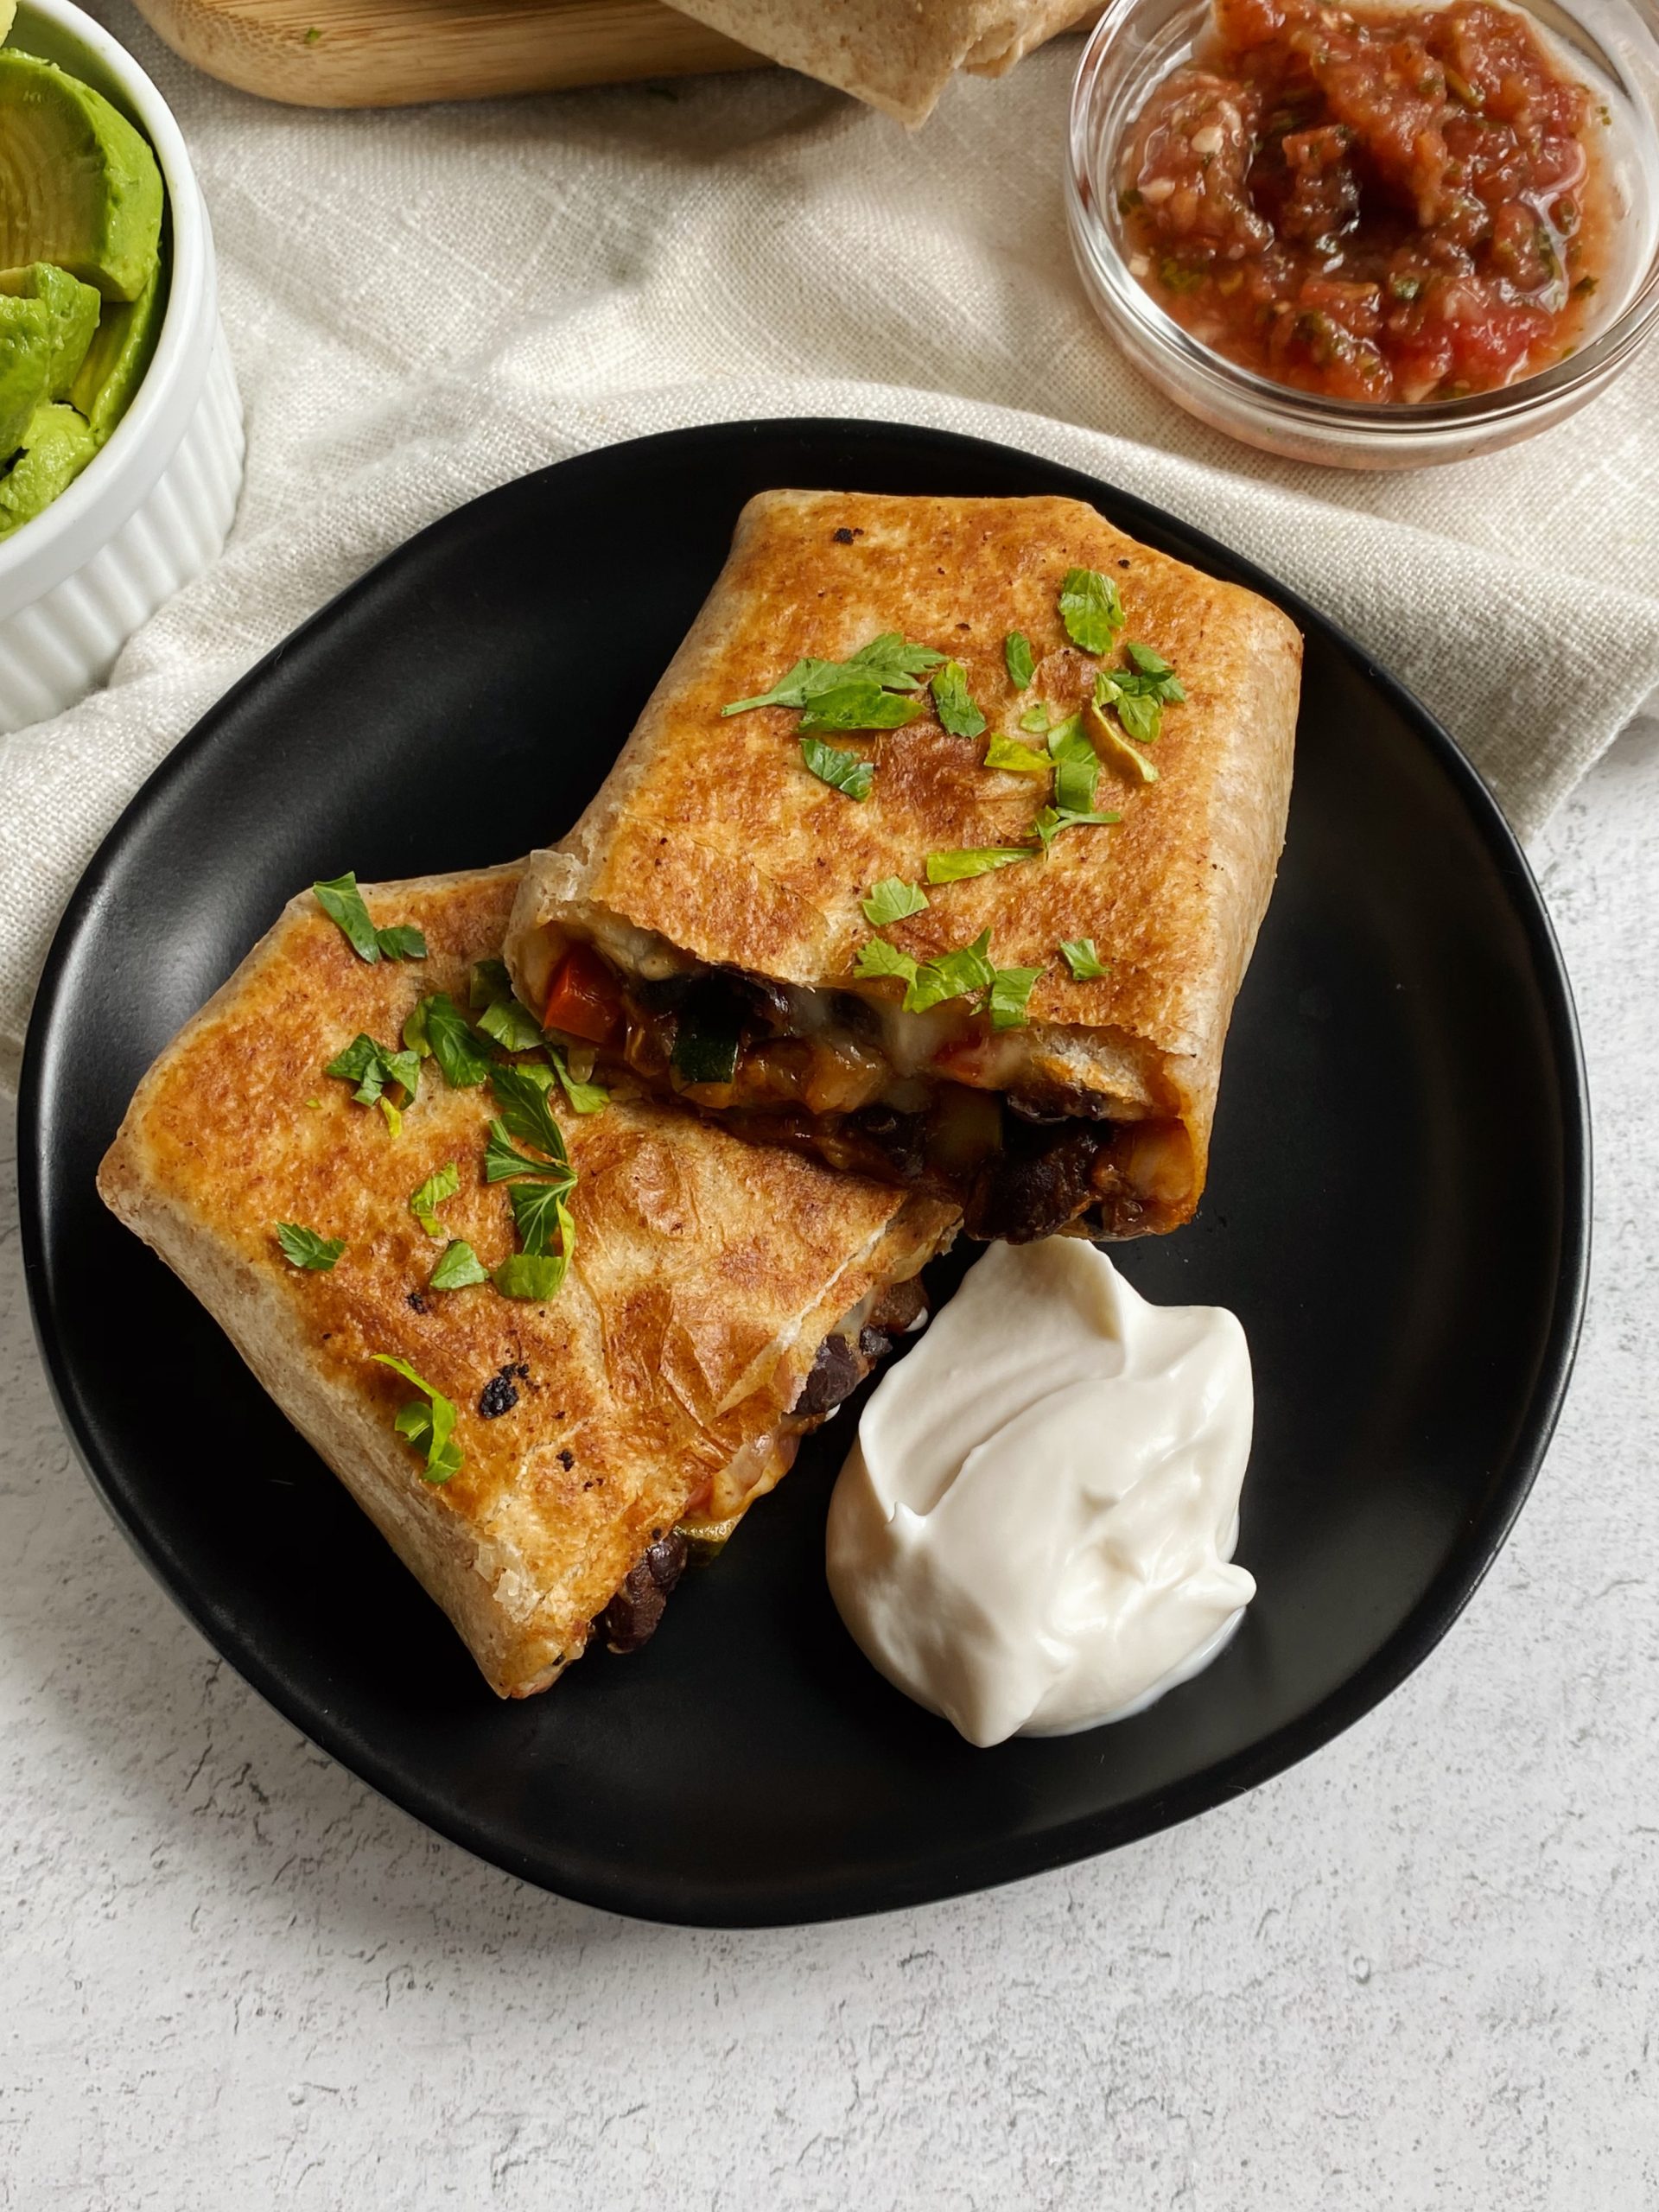
black bean burritos

Preparing your black bean burritos

To make these burritos, you’ll need large burrito sized wraps, your choice of veggies, black beans, a spice mix, and any cheese you like.

  1. Cook your veggies in olive oil until tender, I used red bell pepper, onion and zucchini
  2. Add in the black beans and spices, and let the mixture cook for an addition 5-7 minutes
  3. Assemble your burrito by layering the center of your wrap with shredded cheese and the bean mixture
  4. Fold & freeze!

I like to grill the burritos on a pan before freezing them to crisp them up slightly.
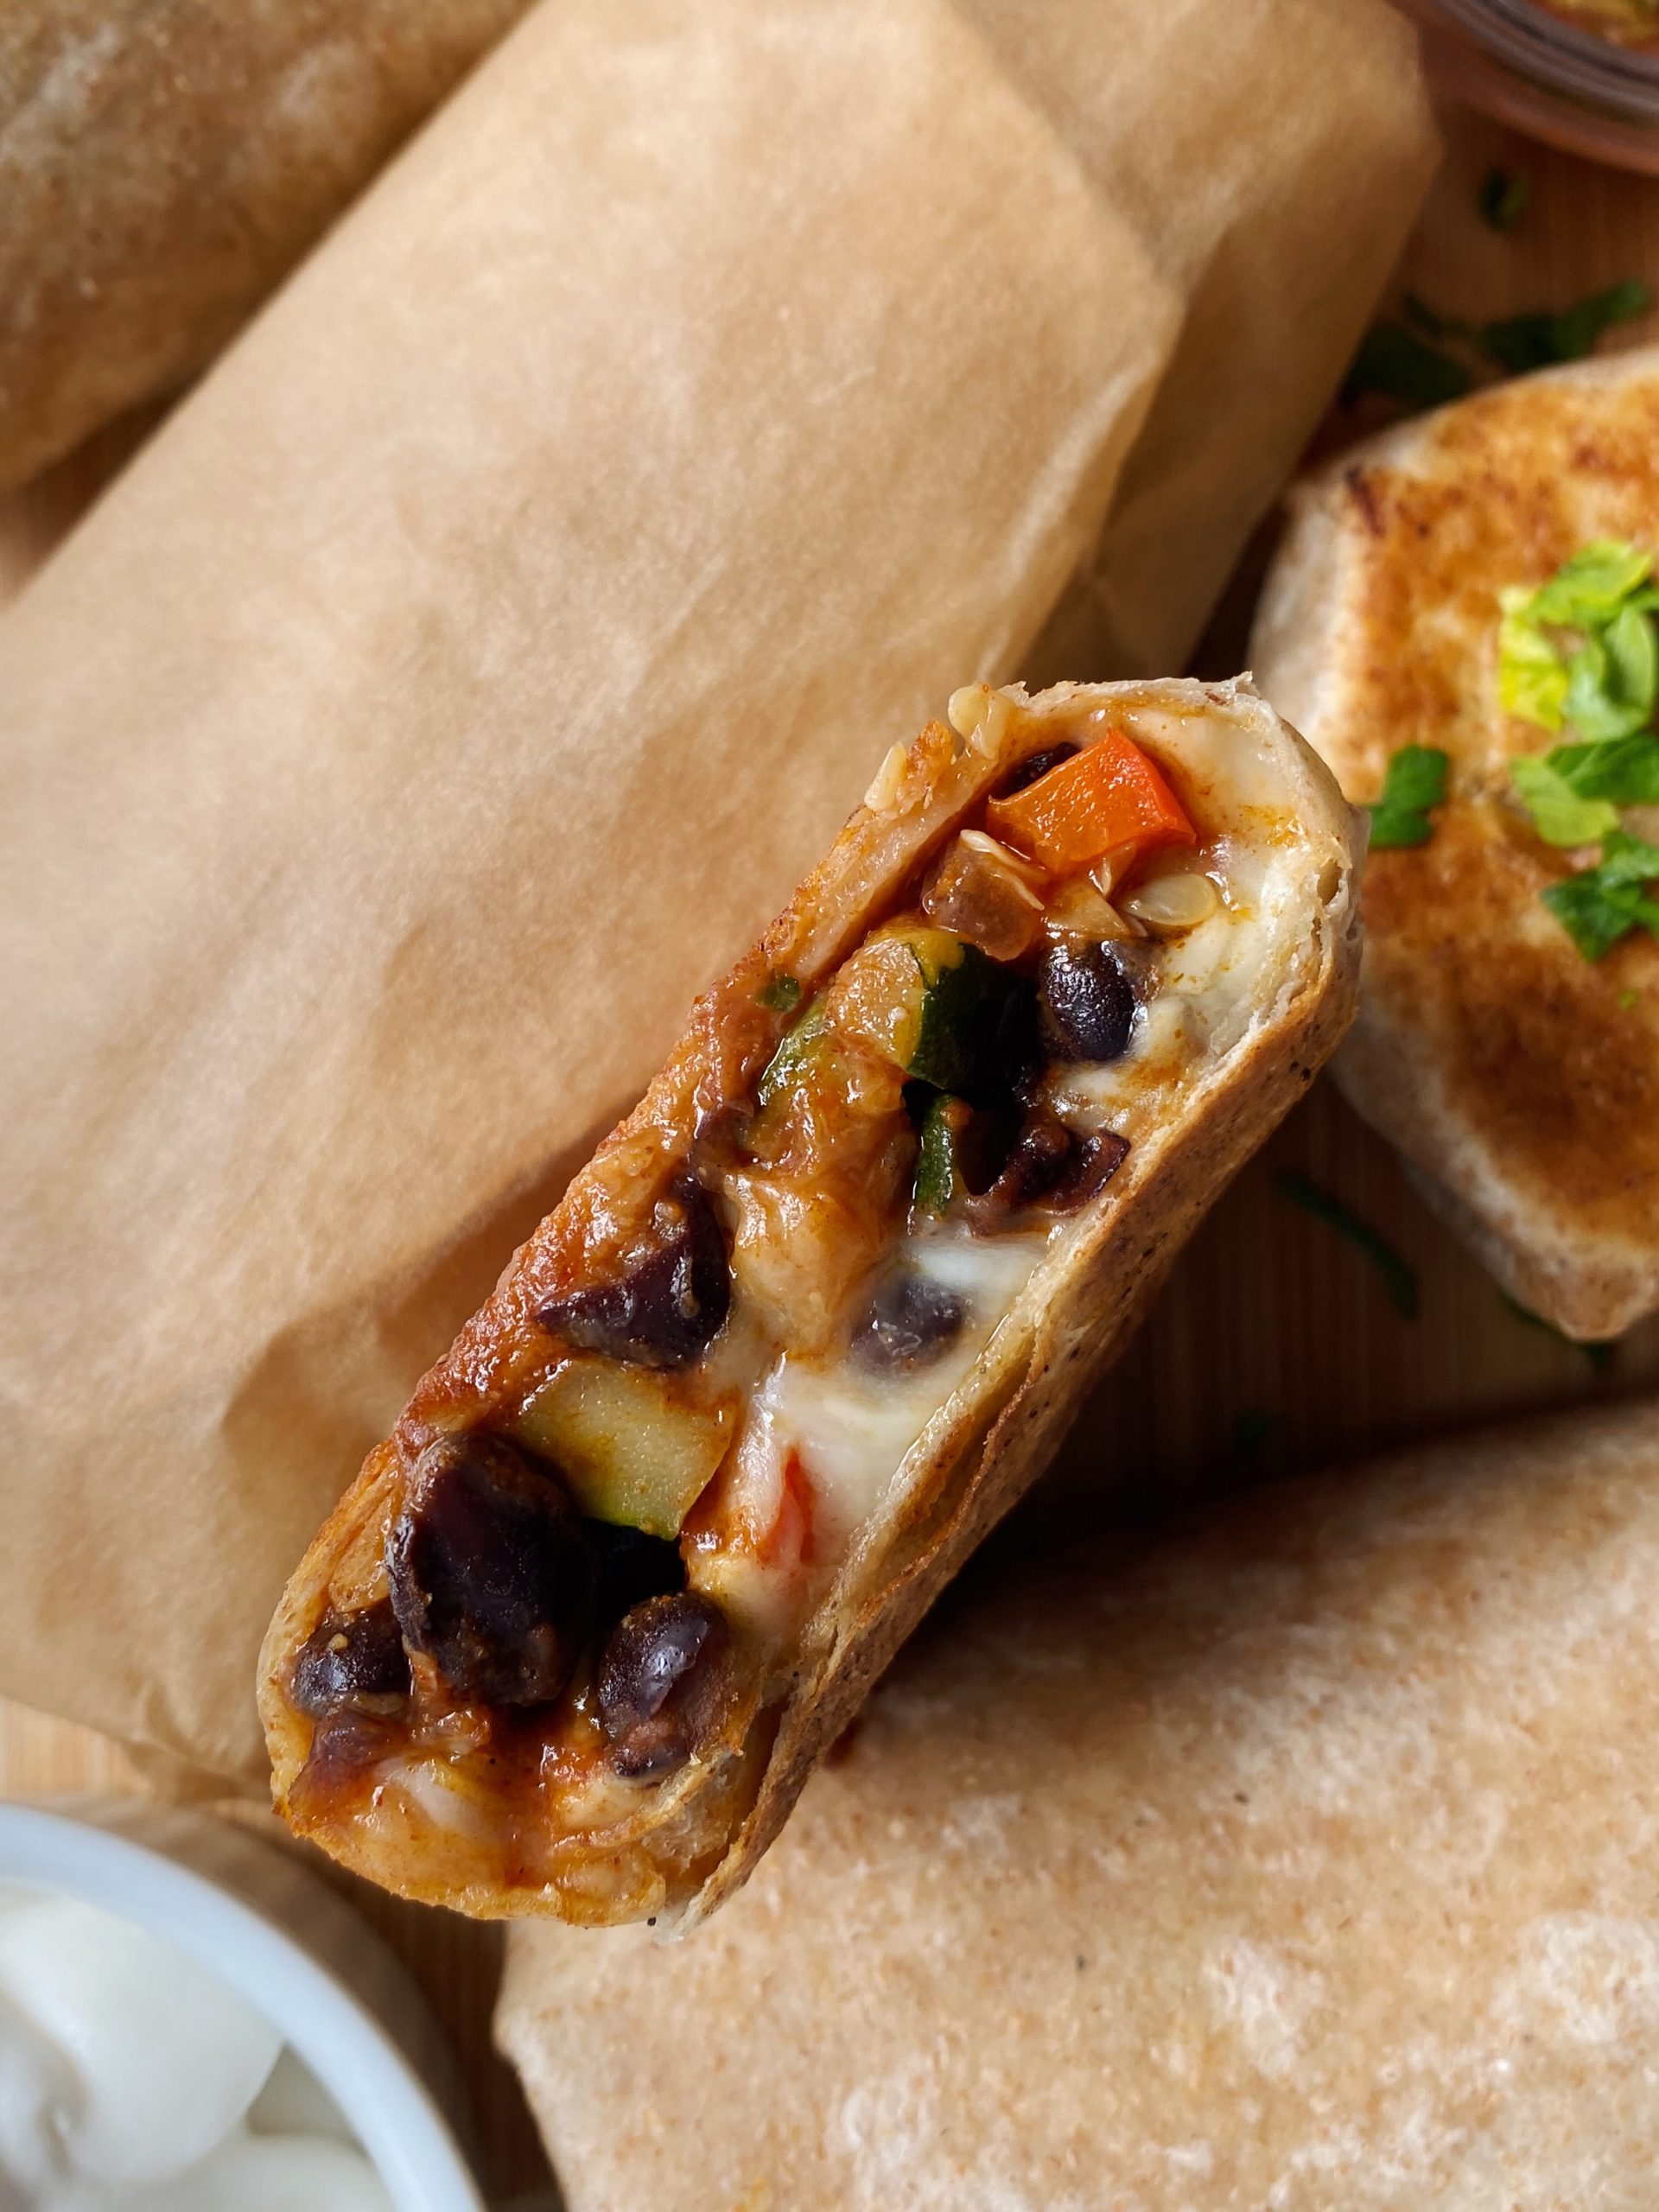
Storing your breakfast burritos 

Wrap each burrito individually in parchment paper or tin foil, and place them in a reusable storage bag. You want to be sure to place them at the top of the freezer or in the door, so that they don’t get smashed inside in the freezer. You can also store these in a freezer-safe container.

Reheating your burritos

There are two options to reheating your burritos-

  • MICROWAVE INSTRUCTIONS:  remove your burrito from the freezer and unwrap it. Place it on a microwave safe plate, and warm for 1 minute. Flip over and warm for additional minute. You can also choose the “defrost” setting for 2 minutes. If you plan on microwaving, I recommend grilling each burrito on a pan prior to freezing, or after it’s been defrosted.
  • OVEN INSTRUCTIONS: remove your burrito from the freezer and place on a sheet pan over the parchment or tinfoil it was wrapped in. Bake on 350 F for 20-25 minutes, flipping half way through. I like to use my mini oven for this step since it heats up quickly.

To save time in the oven, you can defrost the burrito in the fridge overnight and cut down baking time to 10-15 minutes!

black bean burritos

These nutrient-dense burritos are the perfect breakfast to meal prep for the week. Customize them to your liking, and enjoy them with your favorite dips!

Looking for more meal prep ideas? Try some of these easy recipes!

Peanut Butter Banana Overnight Oats

Spinach & White Bean Burgers

Chocolate Chunk Banana Oatmeal Bars

Plant-forward Walnut & Black Bean Burritos

black bean burritos

Black Bean and Veggie Burritos

4.7 from 14 votes
Pin It Print SaveSaved!
Serves: 4 servings
Prep Time: 10 minutes mins
Cooking Time: 20 minutes mins
Total Time: 30 minutes mins
Prevent your screen from going dark

Ingredients

  • 4-5 large wraps
  • 1 can of black beans, rinsed (15 oz)
  • 1/2 cup shredded cheese of choice, like cheddar or mozzarella
  • 1 red bell pepper, chopped
  • 1 zucchini, chopped
  • 1/3 cup red onion, diced (about 1/3 of a large onion)
  • 2 tbsp olive oil
  • 1 tsp chili powder
  • 1 tsp cumin
  • 1/2 tsp garlic powder
  • 1/4 tsp salt
  • 1/4 tsp black pepper
  • ¼ tsp smoked paprika
  • 1 tbsp hot sauce (optional)

Serve with

  • Avocado
  • Salsa
  • Sour cream

Directions

  1. Heat a large pan on medium heat for 1 minute, then add in your olive oil.
  2. Add your chopped zucchini, bell pepper and onion into the pan, and cook over a medium low flame for about 7-8 minutes until the veggies begin to soften- stir occasionally.
  3. Once the veggies start to become tender, add in your black beans, hot sauce and spices. Toss together to coat evenly, and continue to cook over a medium flame for an additional 5-7 minutes.
  4. Remove from heat and let the veggies cool for 5 minutes before assembling your burrito.

Assemble the burritos

  1. Lay a wrap flat onto your working surface, spread some cheese over the center, and pour about 1/3 cup of the filling into the center. Fold the sides of the burrito over, then begin rolling tightly from the bottom.
  2. To freeze, wrap each burrito individually in parchment paper or foil, and store in a reusable or ziplock bag for up to 2 months.
  3. If desired, you can grill the burritos before freezing them. Wipe down the pan you cooked your veggies in, and grill each side of the burrito on medium heat for about 2 minute- start with the opening side down. Once cool, follow wrapping instructions above.

How to reheat

  1. MICROWAVE INSTRUCTIONS: remove burrito from freezer and unwrap. Place on a plate and microwave for 1 minute, flip over and microwave additional minute. You can also choose the “defrost” setting for 2 minutes, or defrost for 1 minute and continue to cook on a heated pan for another 3-4 minutes.
  2. OVEN INSTRUCTIONS: Bake from frozen on 350 for 20-25 minutes unwrapped, flipping halfway through. To save time in the oven, you can defrost the burrito in the fridge overnight and cut down baking time to 10-15 minutes!


Hi, friends!

  • Go to Something Nutritious Instagram Profile
  • Visit Something Nutritious TikTok
  • Visit Something Nutritious Pinterest Profile
  • Visit Something Nutritious Facebook profile

I’m Gal, the face behind Something Nutritious. I’m a registered dietitian and recipe developer living in Florida with my husband and dog, and I love to get creative in the kitchen.

get to know me

Latest Recipes

Main

Zucchini Herb Chicken Meatballs

Main

Salmon with Herb Yogurt Sauce

Apricot Glazed Flanken Main

Apricot Glazed Flanken

Main

Balsamic Chicken and Fennel

Shop My Kitchen Staples

Shop My Kitchen Staples
Shop all

Explore More Recipes

Breakfast

Freezer-friendly Breakfast Burritos

black bean burritos Breakfast

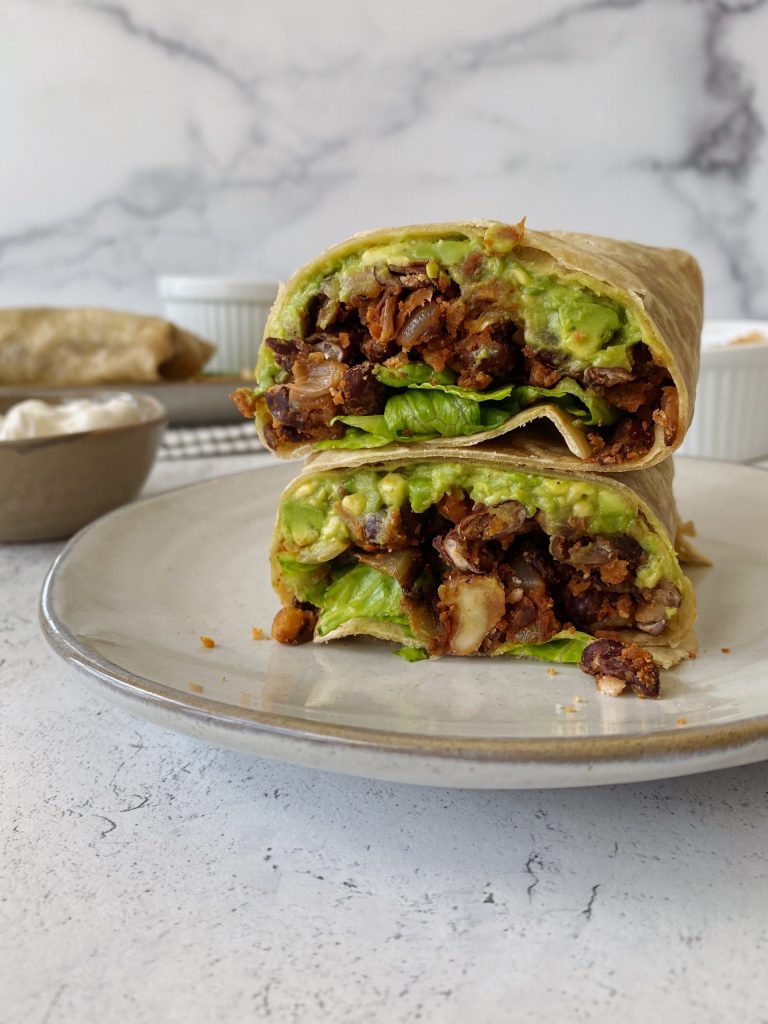
Plant-forward Walnut & Black Bean Burritos

Baked Black Bean Kale Tacos Main

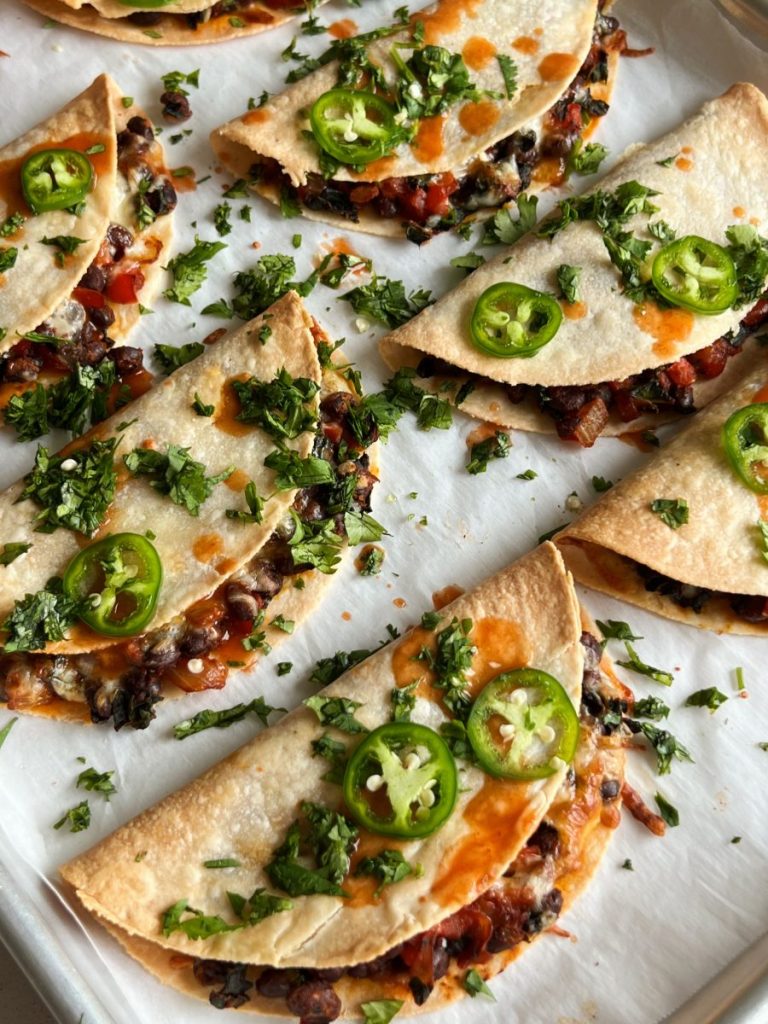
Baked Black Bean Tacos

Main

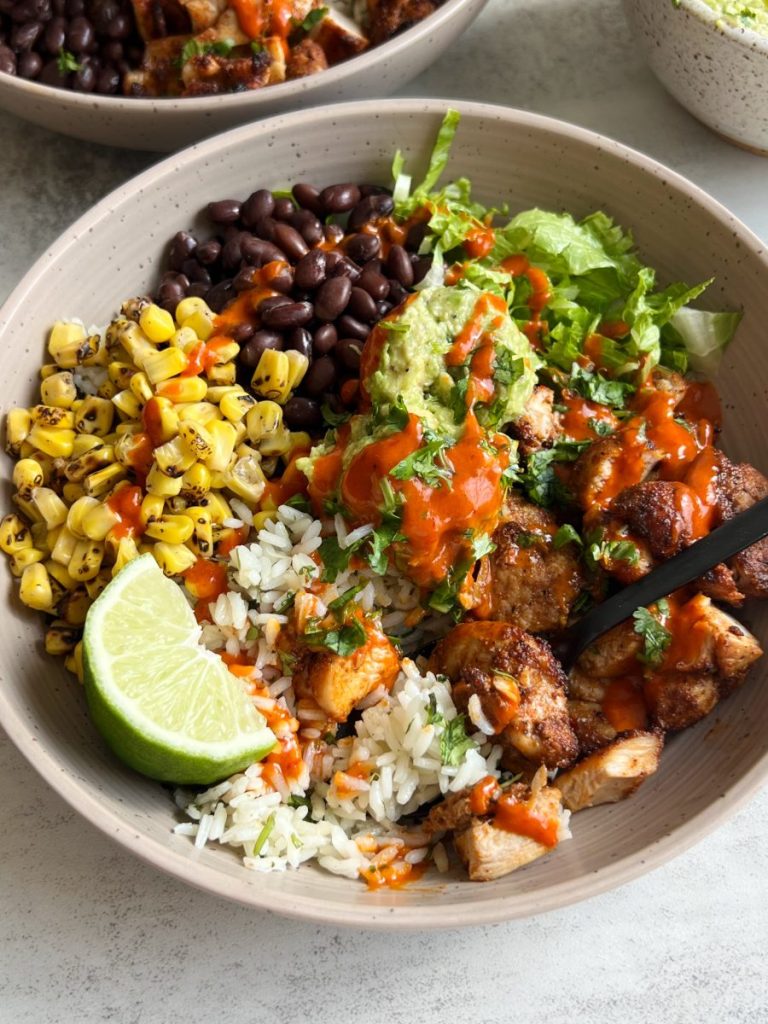
Chicken Burrito Bowls with Harissa Honey Vinaigrette

view all recipes

Ratings and Reviews

write a review

T says:
October 26, 2025 at 1:31 am
T
26.10.2025
Delicious
5 stars
Love it!! Cook them all the time
Reply
herry says:
August 17, 2025 at 7:31 am
herry
17.8.2025
F
5 stars
so delicious
Reply
herry says:
August 17, 2025 at 7:29 am
herry
17.8.2025
F
5 stars
awesome
Reply

Write a Review Cancel reply


This site uses Akismet to reduce spam. Learn how your comment data is processed.

zucchini & herb chicken meatballs 🌿 hearty chicke zucchini & herb chicken meatballs 🌿

hearty chicken patties made with ground chicken, grated zucchini, spices & herbs— delicious over rice with a side salad and creamy tahini

comment “recipe” and I’ll send the recipe link straight to your inbox!

https://somethingnutritiousblog.com/zucchini-herb-chicken-meatballs/
hot honey beef bowls 🍯 seasoned ground beef serve hot honey beef bowls 🍯

seasoned ground beef served with baked sweet potato halves, avocado and pickled onions for a vibrant dinner! 

comment “recipe” and I’ll send this recipe straight to your inbox

https://somethingnutritiousblog.com/hot-honey-beef-bowls/
sumac salmon bites with herb whipped feta 🌿 packe sumac salmon bites with herb whipped feta 🌿

packed with fresh flavors like lemon juice, parsley and dill, the zesty salmon bites pair perfectly with creamy feta dip

comment “salmon” and ill send the link to your inbox, or google “something nutritious sumac salmon bites” 

https://somethingnutritiousblog.com/sumac-salmon-bites-with-herb-whipped-feta/
summer pasta salad with lemon roasted zucchini & w summer pasta salad with lemon roasted zucchini & white beans
 
one thing about me is I will always have a colorful pasta salad in the fridge during the warmer months— it’s the perfect way to pack in carbs, fiber and protein for a quick & nourishing lunch
 
this one combines @kensdressings Simply Vinaigrette Lemon Dressing & Ken’s Simply Vinaigrette Greek Dressing for the ultimate flavor combo— fresh, zesty & full of herbs!
 
grab the full recipe below! 
 
Recipe:
1 lb pasta, I used rigatoni
2 small zucchini, cut into rounds then quarters
1 cup roasted corn, I use pre-roasted frozen corn, thawed.
1 can (15 oz) cannellini beans, drained
1 red bell pepper or 1 cup mini peppers, sliced
4 oz feta cheese, crumbled
⅓ cup green olives, chopped. I used castelvetrano
2-3 cups arugula
Ken’s Simply Vinaigrette Lemon Dressing
Ken’s Simply Vinaigrette Greek Dressing
Salt & pepper
 
1. Prepare the pasta as instructed on the package. Drain and set aside
2. Preheat the oven to 425 F. Add the quartered zucchini to a baking dish and toss with 2 tbsp of Ken’s Simply Lemon Vinaigrette with a pinch of salt. Bake or air-fry for about 25 minutes on the top rack
3. Once the zucchini is ready, add it to a large mixing bowl with the cooked pasta, roasted corn, white beans, feta cheese, olives, sliced peppers, and arugula.
4. In a small bowl, combine ¼ cup of the Ken’s Simply Vinaigrette Lemon + ¼ cup of the Ken’s Simply Vinaigrette Greek. Mix well and toss with the pasta. Season with salt & pepper as needed
5. Leftovers can be refrigerated for up to 4 days.
 
#kenspartner
apricot glazed flanken 🫶🏼 a slow-cooked beef reci apricot glazed flanken 🫶🏼

a slow-cooked beef recipe in a sweet apricot sauce— so good served with my herb rice & chickpeas! 

leave a comment with the word “recipe” and I’ll send you the link!

https://somethingnutritiousblog.com/apricot-glazed-flanken/
chocolate chip yogurt muffins 🫶🏼 a lightly sweete chocolate chip yogurt muffins 🫶🏼

a lightly sweetened treat for a little midday snack! these muffins come together in 10 minutes and are made with a simple pantry staples

leave a comment with the word “recipe” and I’ll send you the link!

https://somethingnutritiousblog.com/chocolate-chip-yogurt-muffins/
bread dip on repeat all summer 🫒🍋 olive oil bals bread dip on repeat all summer 🫒🍋 

olive oil
balsamic vinegar 
castelvetrano olives
lemon zest
chopped parsley
chopped basil
calabrian chili peppers
feta cheese 
flakey salt
black pepper

comment “recipe” and I’ll send the full link! 🤍

https://somethingnutritiousblog.com/spicy-olive-bread-dip/
stay social @somethingnutritious

Sign up to our newsletter for exclusive recipes, culinary tips and all things nutritious.

Please enable JavaScript in your browser to complete this form.
Loading
Brand Mark

recipes

  • All Recipes
  • Breakfast
  • Main
  • Salad
  • Side Dishes
  • Dessert
  • Snacks

About

kitchen staples

contact

  • Go to Something Nutritious Instagram Profile
  • Visit Something Nutritious TikTok
  • Visit Something Nutritious Pinterest Profile
  • Visit Something Nutritious Facebook profile

© 2024 Something Nutritious Blog. All Rights Reserved.

Site by Saevil Row + MTT

Write a Review

Your vote:


Let us know what you thought of this recipe:

This worked exactly as written, thanks!
My family loved this!
Thank you for sharing this recipe

Or write in your own words:

A rating is required
A name is required
An email is required